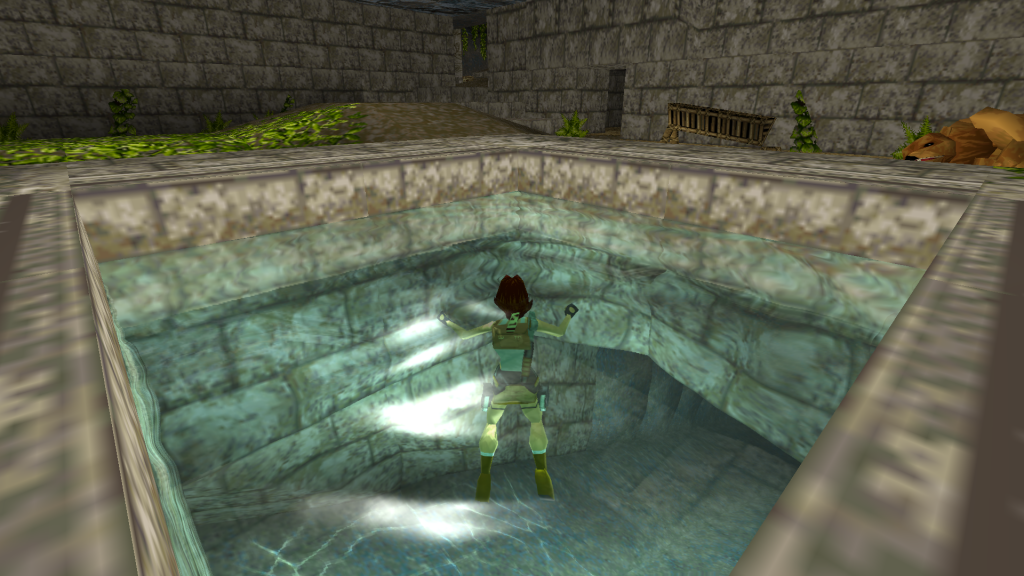
Dolphin is now available as a libretro core! Dolphin is a popular Gamecube/Wii emulator. Keep in mind that the current version of this libretro core is considered an alpha release. Lots of work still remains but we intend to get it done, and hopefully receive some help along the way as well.
If you’d like to know more about the project, please visit its site here. We would like to ask you to not bother them with issues yet that happen in this libretro core, as things are not quite finished yet and it might take up their time unnecessarily.
Available for
The Dolphin core is currently available for:
- Windows (64bit)
- Linux (64bit)
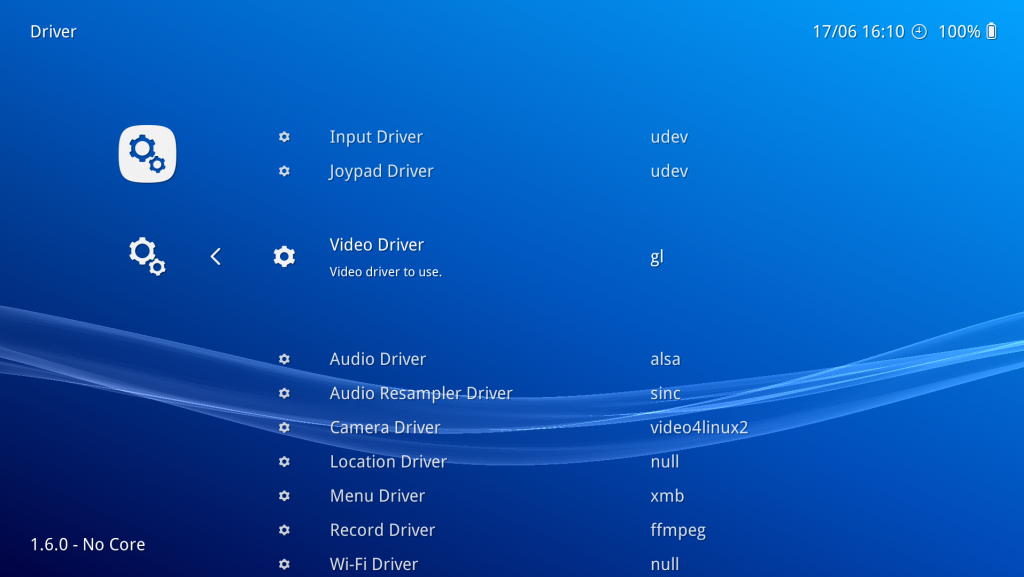
Further requirements: This core requires that you turn on ‘Enable Shared Hardware Context’, otherwise you will only see a single texture being displayed onscreen instead of the game screen.
Note for macOS users: There is currently no ‘working’ macOS version available because of the aforementioned reason. Please be patient and keep the faith, we have not forgotten about macOS users and we have not relegated them to second-class citizen either. Just going to take a little bit of time before we sort this out.
How to get it
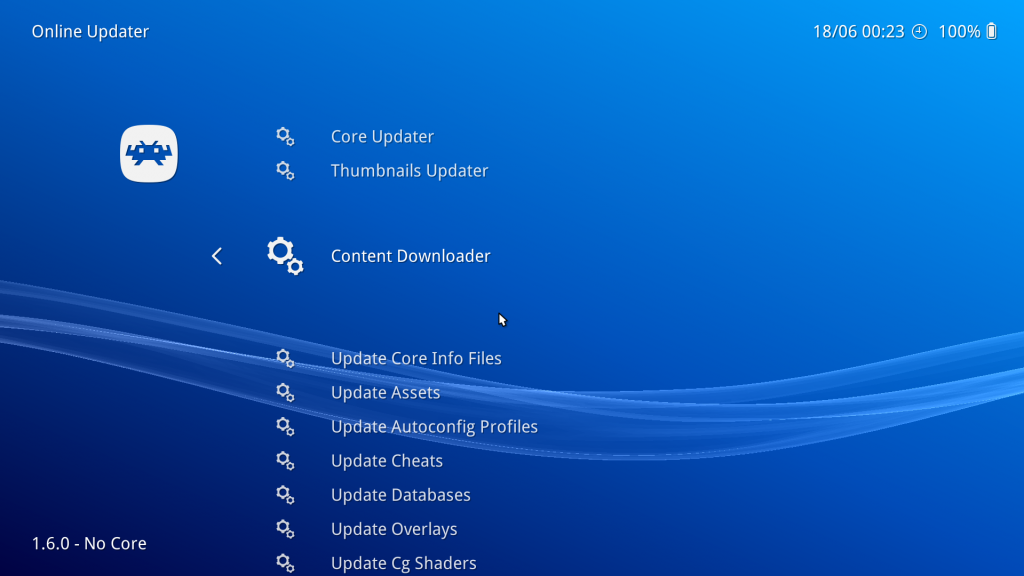
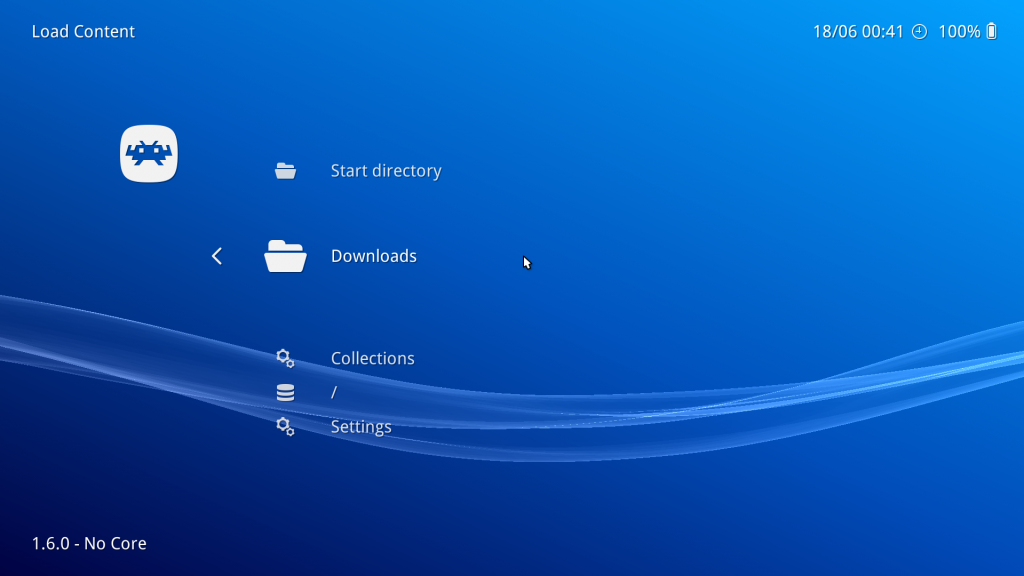
- Start RetroArch.
- Go to Online Updater -> Update Cores.
- Download ‘Gamecube/Wii (Dolphin)’ from the list.
Important! How to turn on shared hardware context (required)
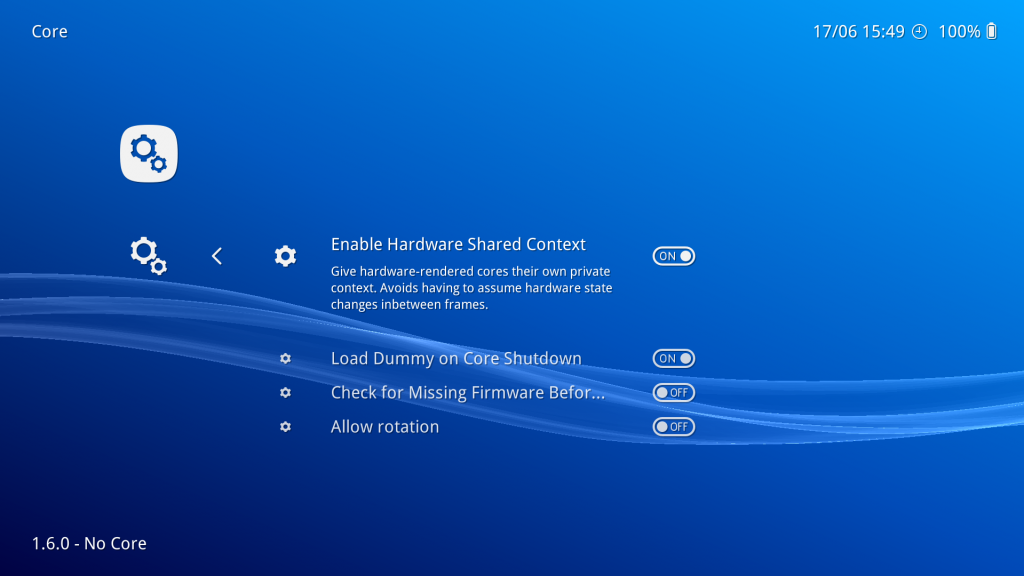
This core also requires that you turn on ‘Enable Shared Hardware Context’. If you don’t do this, you will only see a black screen.
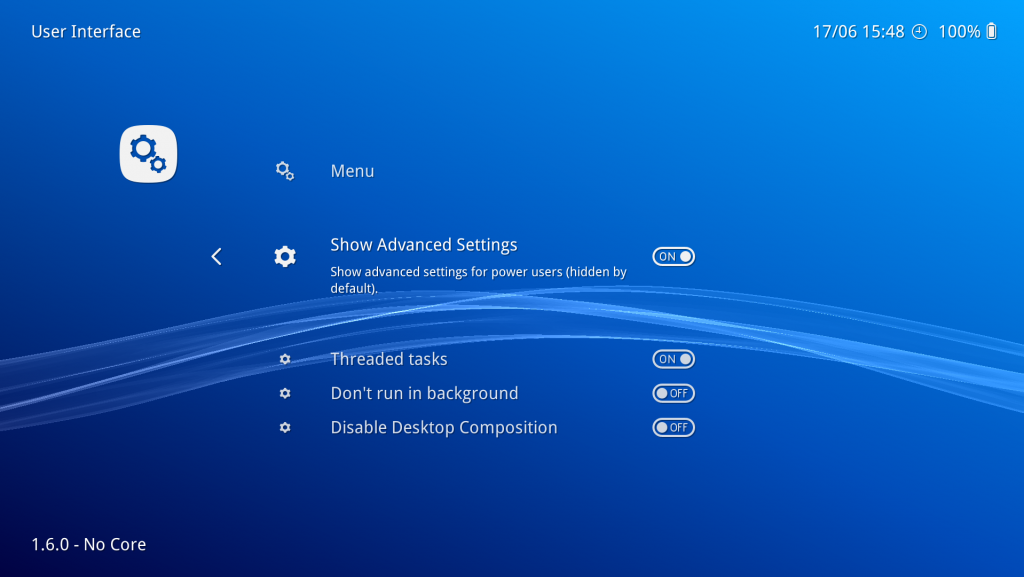
First, you need to ensure that ‘Show Advanced Settings’ is turned on. Go to Settings -> User Interface and turn ‘Show Advanced Settings’ on.
Now, go back, and go to Settings -> Core.

Once inside the ‘Core’ settings, set ‘Enable Shared Hardware Context’ to ON.
The upcoming version of RetroArch (version 1.6.1) might make it unnecessary to toggle this, saving you the hassle of having to do this.
How to use the demo
We assume you have already followed the steps in ‘How to get it’, and that the core is already installed.
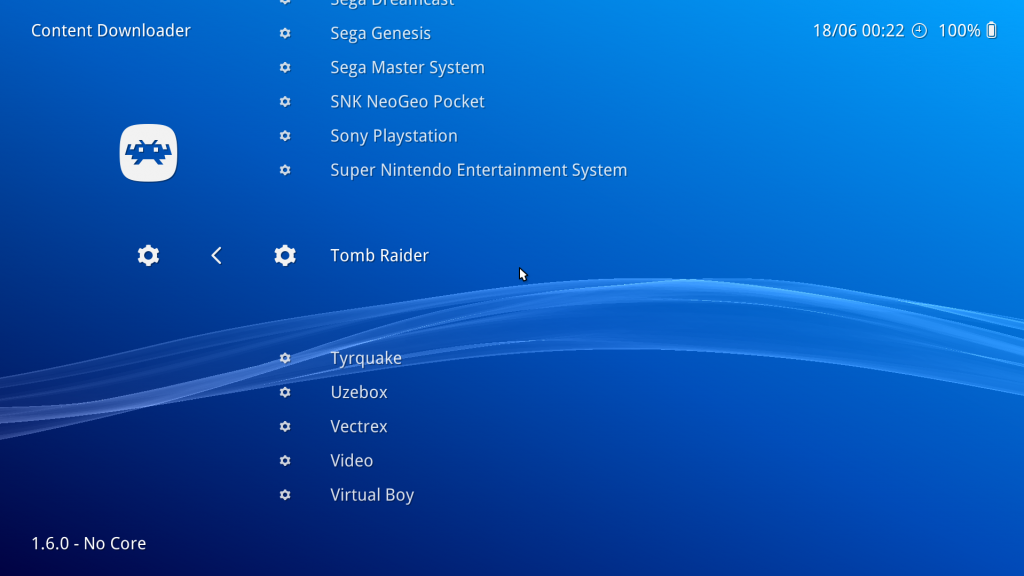
- Go to Online Updater -> Content Downloader.
- Go to ‘Dolphin’, and select the file ‘dolphin-data.zip’.
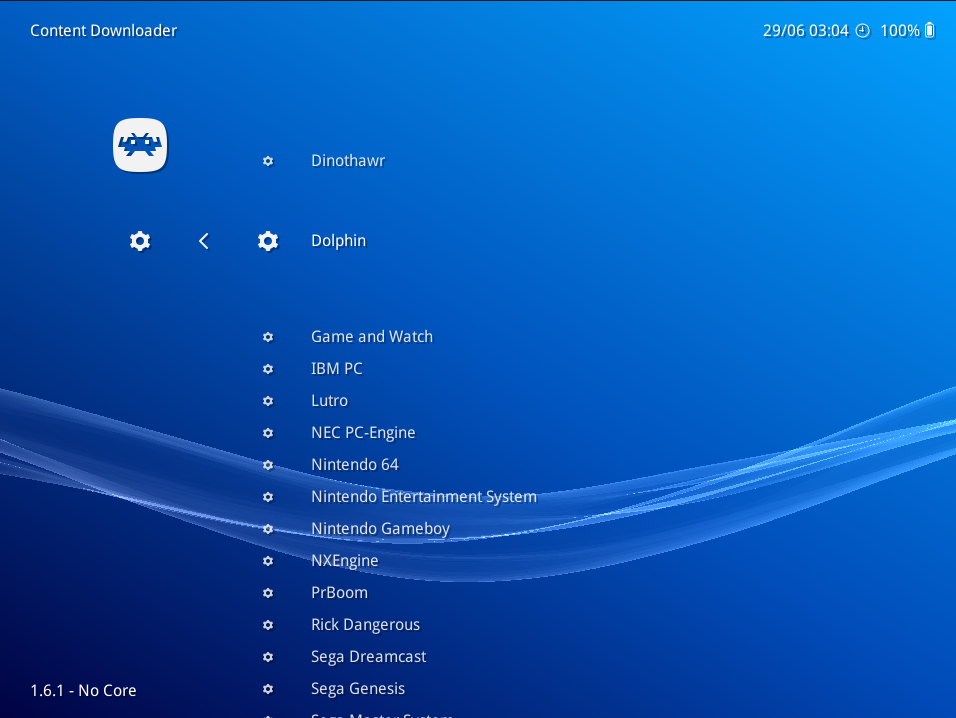
- You should now have the required game INI settings placed in the proper directory. Dolphin will look inside this directory for game-specific recommended settings.
NOTE: You can also place the system files inside your System directory, or even the game’s save directory. It looks for a directory called either ‘Dolphin’ or ‘dolphin-emu’ inside those directories.
Controls
Right now, the main input device implemented is a GameCube controller. We have laid this out on the RetroPad as follows –
B button – B button
Y button – Y button
Start button – Start button
D-pad – D-pad
A button – A button
X button – X button
L1 – L button/trigger
R1 – R button/trigger
R2 – Z trigger
Left analog stick – Control Stick Left
Right analog Stick – C-Stick
You can reconfigure these controls at your discretion by going to Quick Menu -> Controls while in-game.
Extra features
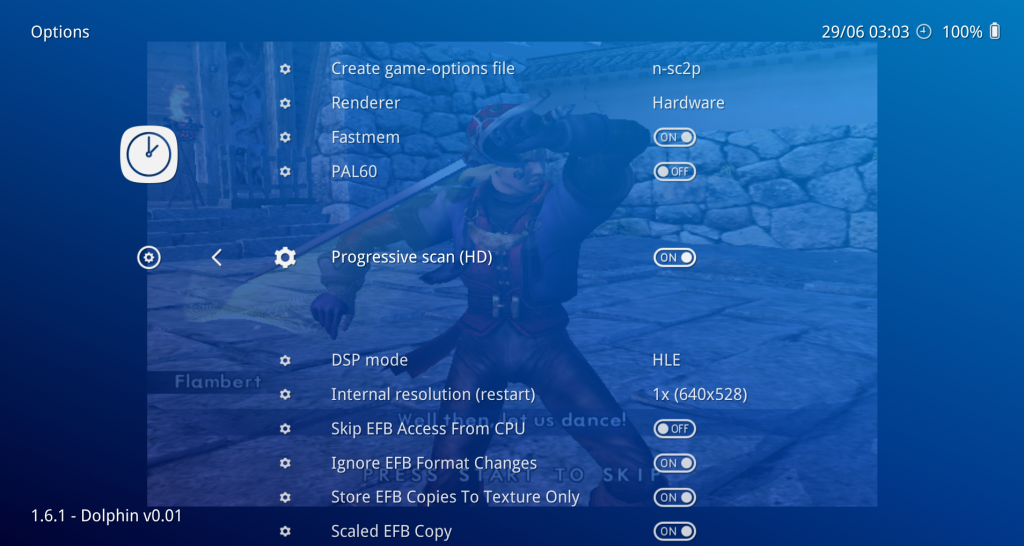
- Renderer: Hardware or Software. If you start this core in RetroArch with “Renderer” set to Hardware, it will default to OpenGL or Vulkan depending on which video driver you have selected inside RetroArch. If you choose “Software”, it will use the software renderer instead. It will be dogslow though..
- Fastmem: Fastmem configures a 4GB range of memory to match the Wii’s address space, and PPC memory accesses are translated directly to x86 memory accesses into this region. Might be faster.
- PAL60: Turn on PAL60 mode. This was a TV output mode used by Gamecube/Wii games so the game could run at 60Hz instead of 50Hz. Certain games like Metroid Prime 2 would even require this.
- DSP mode: Can be set to either HLE (High-Level Emulation) or LLE (Low-Level Emulation). HLE is much faster while LLE is much more accurate but tends to be slower. Certain games will require LLE audio, but not the majority.
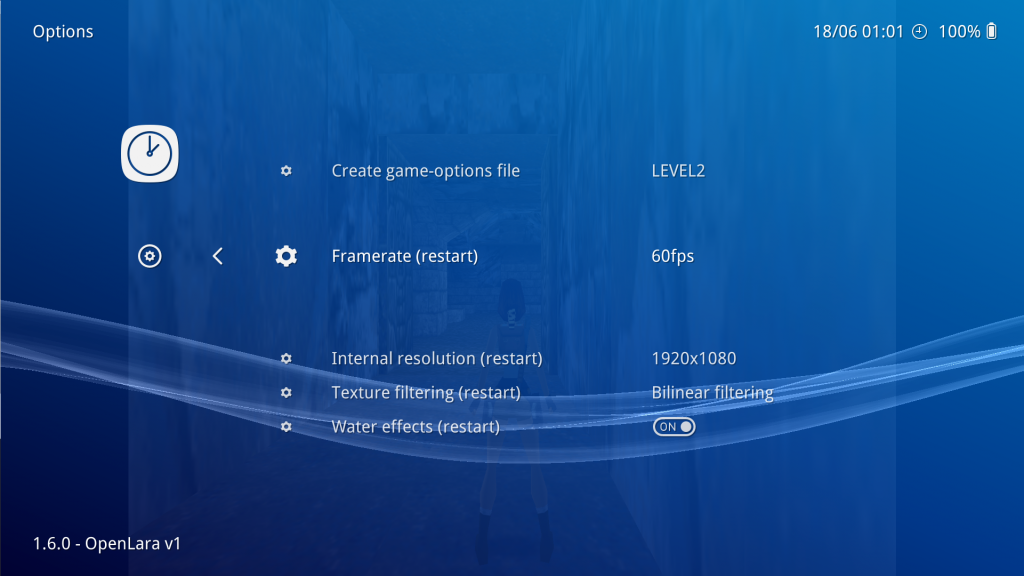
- Internal resolution (restart): You can change the internal resolution here. In order for the changes to take effect, you need to restart the core.
- Skip EFB Access From CPU: This can kill the speed of Dolphin (for those without a top CPU), but it’s necessary for some features.
- Store EFB Copies To Texture Only: This is a hack. By unchecking it, you’re allowing the emulator to go the more accurate path of storing EFB Copies to RAM (and allowing the emulator to more or less fully emulate what the Wii can do with EFB Copies) which is required for Pokemon Snap to work.
- Scaled EFB Copy: Prevent overpixeled textures by upscaling them (some games need this option).
More core options will be added soon!
Implemented
Some of the features that are currently implemented:
- Working OpenGL renderer. Requires core GL 3.3 context and requires ‘shared hardware context’ to be enabled (see above instructions).
- Working Vulkan renderer. Might still have some ghosting/frame pacing issues.
- Working software renderer.
- Working dynamic recompiler for x86-x64.
- Working Nintendo Gamecube/Wii Classic pad support.
- Disabled analytics.
- Savestates are working.
- Internal resolution can be changed by going to Quick Menu -> Options and changing ‘Internal Resolution’. This currently requires a restart of the core.
Unimplemented
We are not calling this an alpha release for nothing. Although it took a lot of work to get to the state we are in right now, do consider this:
- We have not implemented pass-through Gamecube/Wiimote support at all yet.
- Right now we are not using the audio mixer, so games with streaming audio (like Super Monkey Ball/Ikaruga) might be missing their ingame music. We intend to implement this of course. The games affected can be found on this list here.
- We are a few revisions behind upstream right now. The intent is there to update to the latest sources. Some changes were made by the initial porter of this core to support PIC inside the dynarec, and upstream has since done their own take on it. The initial porter disagreed with the implementation of this, but we will make a suitable enough decision later on as to whether to go with the initial porter’s take on it or upstream’s. Do consider that there are valid reasons sometimes for diverging from upstream for the sake of improving the quality of the port.
- There are some games that currently display some issues which aren’t there in standalone. These seem to be renderer-related. For instance, Resident Evil only shows a black screen after the company logo screens with the OpenGL renderer, yet it renders and works fine with the Vulkan renderer. These issues will still need to be resolved..
- There might be issues with more than one gamepad right now.
- Savestates are not reliable right now. It’s technically hooked up but it’s bug/crash-prone.
- We still intend to have built-in game setting defaults so that even the current step of having to download these Game Settings from our buildbot is unnecessary. A prime design goal of libretro cores is that not only should there be as little dynamic library dependencies as possible, but also as few external data file requirements. So in other words, for certain data files to exist in some random directory is often regarded as not being nearly portable enough for our tastes. We rather like that the entire program is encapsulated inside one dynamic library file and that is all there is to a working configuration.
Note on maintenance
We’d like to stress that porting Dolphin is a big endeavor and undertaking, and as such, Dolphin developers and users alike should consider this a code experiment laboratory right now. This is also why we’d really appreciate it if anybody DO NOT BUG the Dolphin project right now on any issues they might experience in this alpha core yet. We were pretty much left to our own devices porting this. The intent is for us to get to complete feature parity with the standalone version and once we have managed to do so, figure out a way to get this in a form so that it can be upstreamed again. If there is going to be a hard fork of Dolphin, it will be separate from a mainline, upstream-compatible Dolphin core so that people who always prefer to be in lockstep with upstream will get what they want, while people who would like to see the advantages of a hard fork could still go for that separate version as well. We are trying to appease both sides here, certain codebases lend themselves better to libretro core-ification vs. others and often developers and users alike are not fully cognizant of the different approach this requires. That all being said, we intend to get along better with emulator teams provided we are given a fair shake and cooperation can happen instead of antagonism. We do not intend to step on anybody’s toes, and we’d like to be able to work together with anybody. There is some interests at least amongst some Dolphin devs to help us finish up these remaining parts, which is very refreshing to see.
 Citra is now available as a libretro core! This port was made singlehandedly by developer j-selby and is already at a pretty impressive state of development.

 After a common effort to fix various issues resulting from this change (thanks Retro-Wertz), it should now be at the same level of compatibility as the original emulator.