Flycast – Progress Report -HLE BIOS – no longer requires external BIOS!

New version will be available later today on the Buildbot!

Flyinghead has significantly improved HLE BIOS support to the point where 90% of Dreamcast games (both regualr and Windows CE-based games) should now be supported! Previously, compatibility with the HLE BIOS was quite abysmal, to the point where we couldn’t justify enabling it by default. So this marks an important point where users are no longer required to go seek out an external Dreamcast BIOS and can just run a Dreamcast game out of the box without needing to setup a specific BIOS!

A couple of notes:

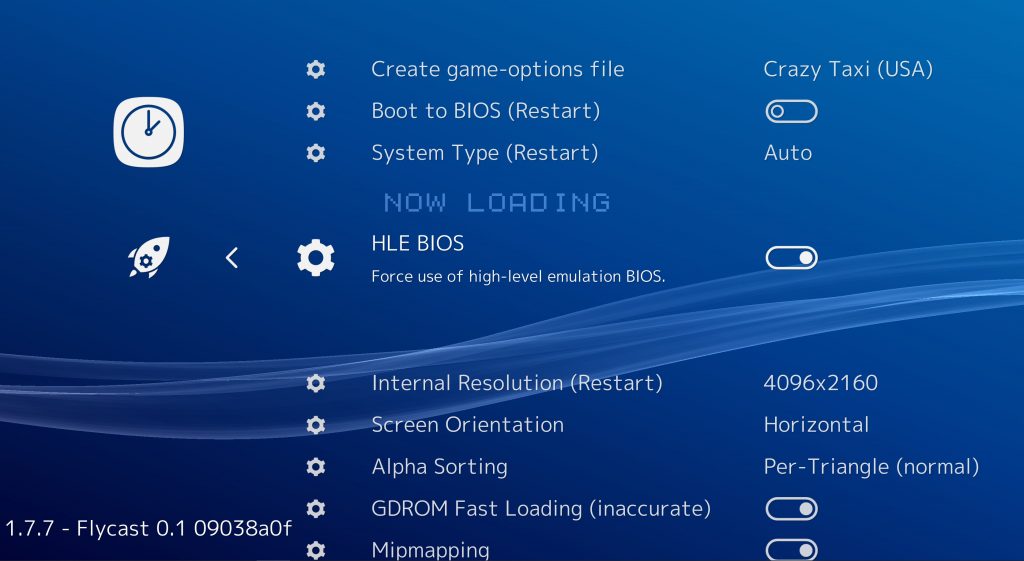
  • ‘HLE BIOS’ is now enabled by default. If you wish to disable it and rely on a real external BIOS, you go to Quick Menu -> Options, and disable ‘HLE BIOS’ there.
  • The ‘Fast GD-ROM Loading’ option right now doesn’t work with the HLE BIOS. Disable ‘HLE BIOS’ if you want to make use of this feature.
  • Previous savestates are no longer compatible with this current version. Later on, compatibility with these older savestates will be restored. We will let you know when that happens. Until then, we recommend making new savestates.

When do I get to use this?

Today! Updated versions of both Flycast cores (regular and Windows CE versions) are being uploaded to the buildbot as we speak, so you’ll be able to play with this later today if all goes well.

More progress

  • Flyinghead intends to merge the regular and Windows CE versions into one version come September. The inclusion of Windows CE/MMU codepaths should no longer slow down regular non-Windows CE games. On the contrary, SSA and lots of optimizations done for Windows CE will benefit the non-Windows CE games as well, so you can expect this universal version later on to be a bit faster.
  • This closed source emulator recently added support for this – flyinghead has already been able to match this in his branch. Like the other emulator, it should result in Street Fighter III 3rd Strike being rendered correctly, along with in-game screen adjustment being possible. It should be noted though that more regression testing is needed first because changes like these can have an adverse effect on other games that are currently being rendered fine, like Metropolis Street Racer. We rather suspect not enough testing was done to check for regressions in this other emulator since flyinghead was able to see a bunch of regressions as part of this feature being added, so we’d rather not jump the gun.

Open source Dreamcast emulation has seen a tremendous boost ever since flyinghead appeared on the scene. Whereas open source Dreamcast emulators seemed previously hopelessly behind something like Demul from a compatibility and accuracy perspective, right now it seems we are well on track to matching it save for Flycast not being able to emulate certain specialized arcade systems like Naomi 2, which are technically not really Dreamcast/Naomi 1 anyway but its successor.

So, right now, Flycast is in a very good spot:

  • It allows you to run Sega Naomi games. Only other emulators that support this are DEmul and Makaron (both closed-source).
  • It allows you to run Windows CE games. Only other emulator that supports this is DEmul (closed-source).
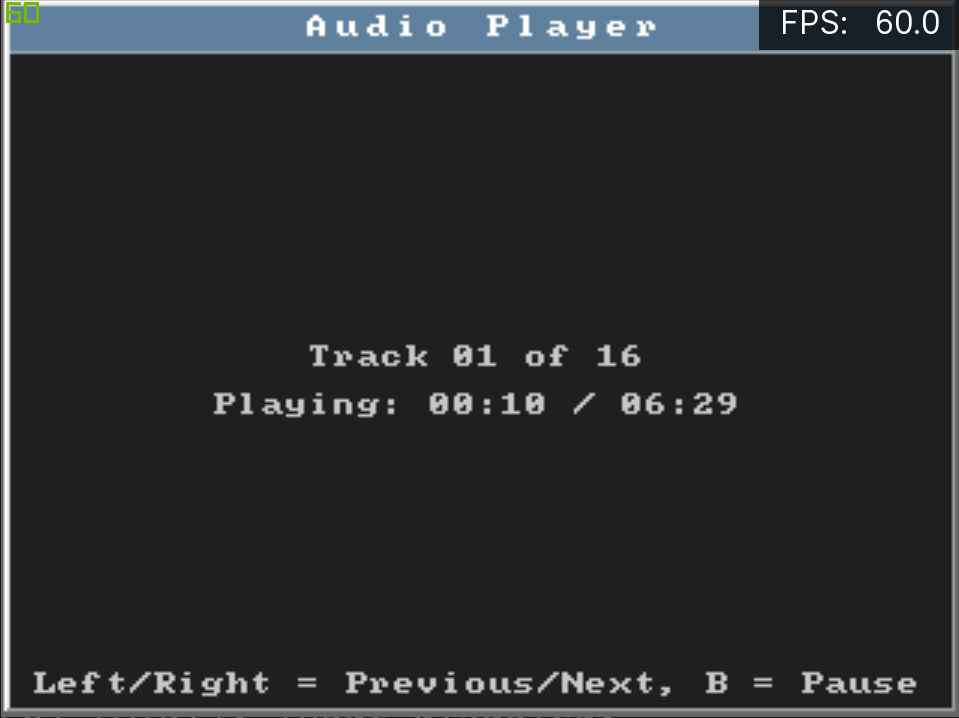
  • There are no limitations on savestates and internal resolutions, there is no paywall to speak of. Savestate support was added years ago.
  • Modem support. DEmul only supports Broadband Adapter support, but Flycast supports actual modem support (32K/64K models).
  • There is built-in zero configuration online multiplayer support, that works cross-platform with real Dreamcasts as well. Flycast is currently the only Dreamcast emulator available so far that supports this.
  • You can enable VMU support and configure where the VMU screen gets displayed onscreen. Up to 4 VMUs at a time can be displayed onscreen.
  • It has a work-in-progress HLE BIOS implementation that has about a 90% compatibility rate. It even works with Windows CE games.
  • It runs on 32bit systems as well as 64bit systems, and is available for x86 and ARM.
  • It has been available on Android and iOS for years now.

We might even add real CD-ROM support soon to it, so that it can run CD-R based backup discs!


Upcoming – RetroArch 1.7.8 – AI Service (Machine Translation / OCR / Text-To-Speech)

Written by Barry Rowe

What is the AI Service?

The AI Service lets you translate games, or add automated voice-overs capability in real time.  Instead of using a ROM patch, this is done by RetroArch taking a screenshot and then sending it to the AI Service listed in your config, which will do OCR (optical character recognition), machine translation, and/or text-to-speech.  The service will then return the result and will either be displayed on the screen, or played through the audio output of RetroArch.  As is the nature with AI though, accuracy can be an issue.  However, machine translation can give a good gist of what’s being said, especially for some language pairs, and text-to-speech can be of great benefit for accessibility.

How to set it up

See https://docs.libretro.com/guides/ai-service/ for a more detailed guide about how to setup the AI Service for your use case (translation or voice-over).  Any core using the RGB565 or RGB8888 pixel formats should work.  Cores using a hardware buffer however are not yet supported.  If you’re unsure if your core is supported, see the above documentation on how to check.  The main supported service is the vgtranslate project

Supported Services: VGTranslate, ZTranslate Service

VGTranslate ( https://gitlab.com/spherebeaker/vgtranslate ) is a lightweight server that you can run on windows or linux.  With it running, your RetroArch device can send its screen captures over your home network and the service will translate it and send it back to RetroArch.  This makes it possible to run the computationally expensive AI code off-device, so you can run translation on a Raspberry Pi or other device.  Local only translation is still in an experimental state, so using a Google Cloud key with VGTranslate is currently suggested.
It’s also possible to use an external service instead of running VGTranslate yourself.  ZTranslate.net has such a service listed in its documentation.

Caveats

Certain text will be easier to OCR than others.  Logos/title screens or very stylized text can be difficult for OCR engines to deal with, and some language pairs are easier to translate between than others.  Japanese-to-English in particular seems to be the most difficult use case, since OCR engines can have difficulty with Japanese pixel fonts on textboxes with transparent backgrounds.  Many games will work fine, but some may not work that well, depending on how the game draws the text.  Future developments will help improve this and expand the number of playable games with this feature.

RetroArch on Steam now coming sometime soon Q3 2019!

In order to do the Steam release justice, we have some infrastructure work remaining to do that will take more time. Our new release estimate therefore is sometime later this quarter. We will keep you updated on our progress.

The net positive of this is that we can ensure the release is more polished and that it will meet the user expectations of your average Steam user.

RetroArch 1.7.8 however is going to be imminent within the next two weeks.

RetroArch Disc Project – Alpha testing has begun! Details inside

Ever since the announcement earlier on June 30th, we have been working hard on the RetroArch Disc Project, and we are now getting to the stage where we want users to start alpha testing the latest code.

We invite you to come over to our Discord channel (also linked to on the RetroArch website – click on the tab ‘Discord’)- and join the channel #discordproject.

How to apply for alpha testing

For the purpose of this alpha test, we need you to meet the following requirements:

  • You are using the latest nightly versions of RetroArch (available here).
  • You are using RetroArch on PC, and are running either Linux or Windows with the CDROM support included.
  • Make sure the cores you are going to be testing are the latest up-to-date versions. Update them daily from the Core Updater if unsure – the cores should have physical CDROM support, otherwise the testing won’t work.
  • You have an optical disc drive (either USB or internal, any CD-ROM/DVD-ROM/BD-ROM drive should do).

Report issues you’re having with physical CDROM playback. Be as detailed as possible in your feedback – we are especially interested in which optical disc drive you’re using.

Be prepared that you might be asked by a moderator to run ‘retroarch_debug.exe’ and return a log message back to us in order to learn more about the issues you’re having. ‘retroarch_debug.exe’ is a debug executable that should be shipped with every RetroArch nightly version for Windows. For Linux users, we assume that they can build from source and compile with CDROM_DEBUG=1 manually in order to run these more detailed debug tests.

Compatible cores

Listed below are some of the cores that we added physical CD-ROM support to, and the ones that we would like you to test –

  • Beetle PSX (HW and non-HW)
  • Beetle Saturn
  • Genesis Plus GX
  • 4DO
  • Redbook Audio Player (Audio CD core)

We have also added support to more cores, but for now we want to go with these cores as they have been most extensively tested.

A couple of known edge cases:

  • Beetle PSX HW: The ‘vulkan’ renderer can exhibit issues where either the CD will not work, or some other corruption issue will manifest itself. We recommend you use ‘opengl’ or ‘software’ for now while you test CDROM.
  • Beetle PSX HW: Make sure the core option ‘CD Access Method’ is not set to ‘precache’. If you do, real discs won’t work.

How to load discs

1.You need to first start up the core itself (there is no automatic system detection yet when you insert a disc).
Go to Load Core, and select the core you want to use.

2. Once the core is loaded, select ‘Load Disc’.
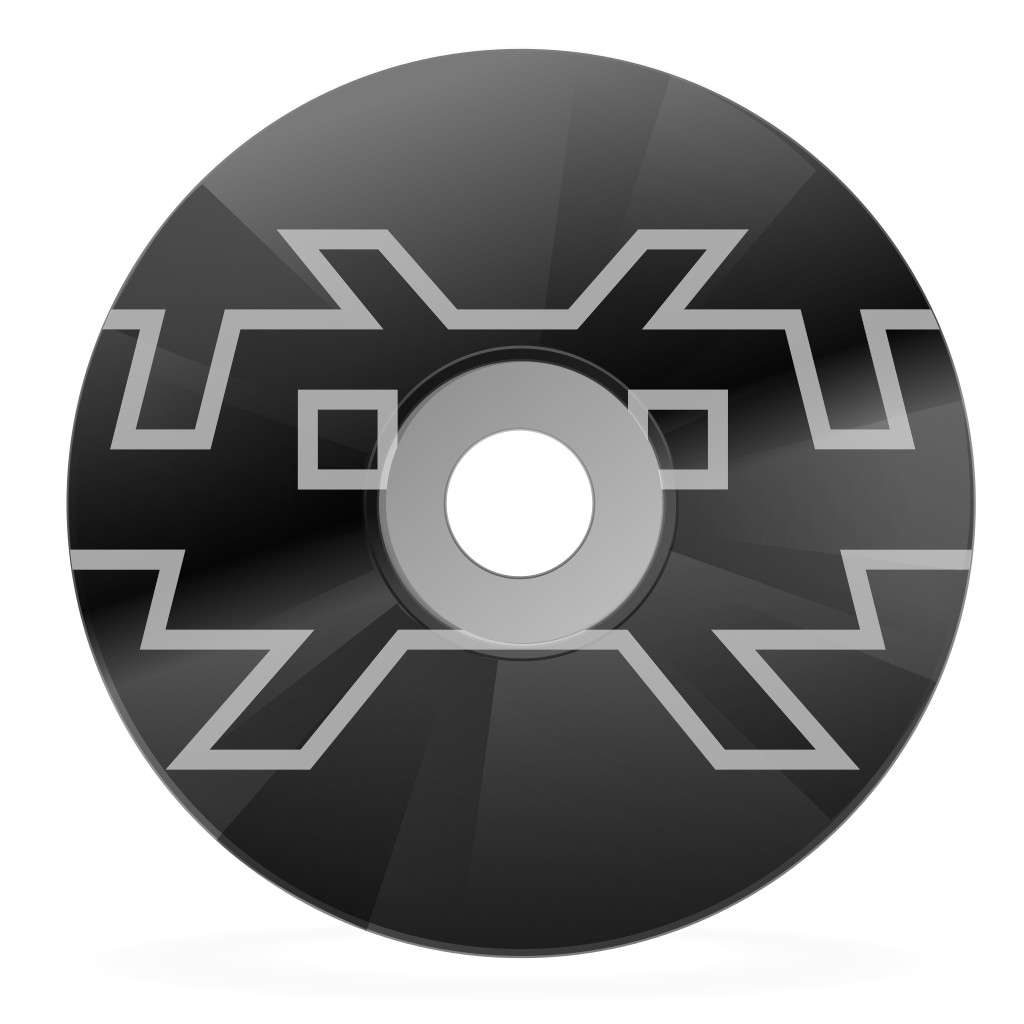
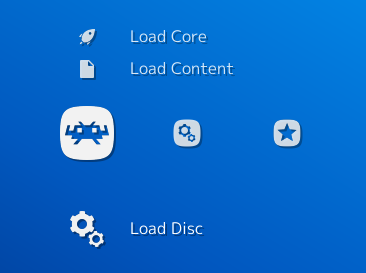
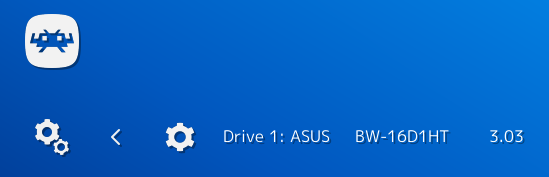
3. It will now list all optical drives. Make sure the disc you want to use has been inserted into the optical drive tray and make sure the tray is closed. Then select the drive. The core will now start with your CDROM as input.

How to dump discs

RetroArch can dump discs to internal storage in bin/cue format. The video above will show you how.

  1. Select ‘Dump Disc’.
  2. It will now list all optical drives. Make sure the disc you want to use has been inserted into the optical drive tray and make sure the tray is closed. Then select the drive.

The disc will now be dumped to the ‘Downloads’ directory. It will continue showing the progress bar until the operation has finished. In the meantime, you can play any core/game (as long as it doesn’t involve real CD playback) until the dumping has finished.

Redbook Audio Player – Libretro core for music CD playback!

As a testbed for the Disc Project, we made a redbook audio CD player Libretro core!

You can grab this core for Windows and/or Linux by going to Online Updater, and downloading it from the list (Redbook Audio Player).

Known potential issues

  • Right now, CDROM works better on Linux vs. Windows.
  • FMV playback with Beetle PSX HW has the potential to be slow on some optical disc drives on Windows. Cause yet unconfirmed.
  • There is a known issue with redbook audio – the redbook audio track begins a few seconds later from its starting period.
  • Libcrypt copy-protected PlayStation1 games will not work right now, but any other copy-protected PlayStation1 disc should.
    Here is a listing of some Libcrypt-protected games from Europe: https://hastebin.com/ruyacahuba.http . You can generally assume these won’t work.