We originally intended to release this together with the new RetroArch version right before the end of this month. However, we want to take a few more days to ensure that the release of RetroArch 1.6.8 is solid and that we don’t rush it out of the gates in a premature state. We ask for your patience, it won’t take too long, a couple of days at most. In the meantime, we have the Parallel N64 core with multithreaded Angrylion ready to go!
This is a heavily modified version of ata4‘s Angrylion RDP Plus plugin. It has the following distinctive characteristics so far:
1 – Made a bunch of changes so that performance in Linux/Mingw is not as bad as it was previously (still worse than Windows though).
2 – Does not require OpenGL context 3.2, or OpenGL at all. It is purely a software renderer that can use any output video driver you want in your libretro frontend. So you can use this in conjunction with OpenGL, Direct3D, Vulkan, etc.
Credit goes to mudlord, Brad Parker and AIO for being able to get this done in such short notice. I helped out along the way too.
Available for
- Linux
- Windows
- Android
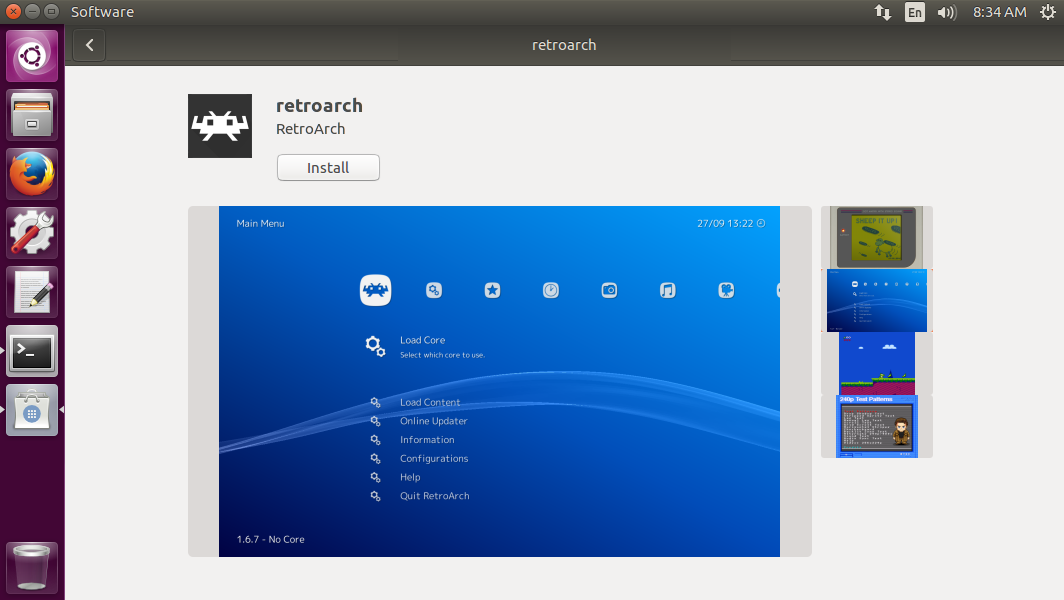
Where to get it
1. Start RetroArch.
2. Go to Online Updater -> Update Cores.
3. Download ‘Nintendo 64 (Parallel N64)’ from the list.
How to use it
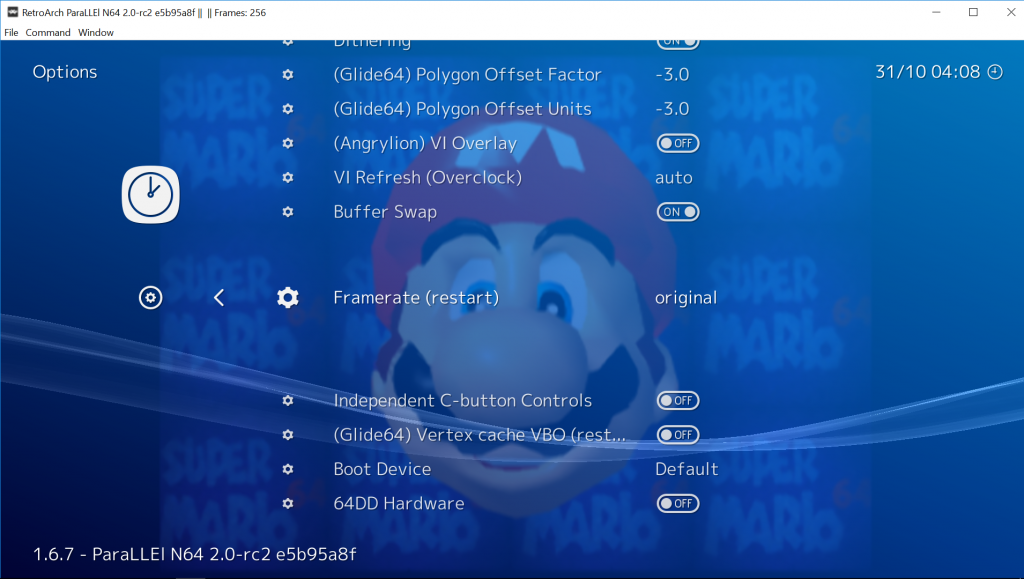
1. Start up the Parallel N64 core with any game.
2. Go to Quick Menu -> Options. Make sure that you set ‘GFX Plugin’ to ‘angrylion’ and ‘RSP Plugin’ to çxd4′. Restart RetroArch.
3. It should now use multithreaded Angrylion as the graphics plugin.
Performance
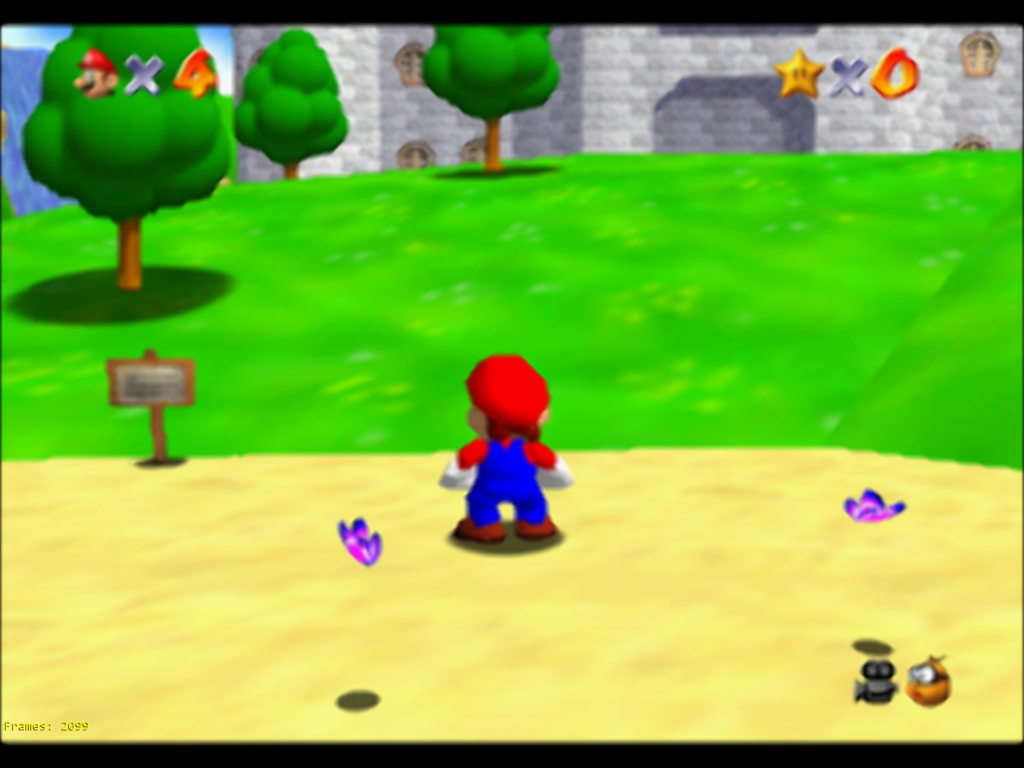
For the purpose of this performance test, I am running the game Super Mario 64.
The system on which the tests are being performed is a Core i7 7700k processor with 16GB of RAM running Windows 10 and Linux respectively.
Windows
| CPU Core | Angrylion version | OS | Performance (with VI Overlay on) | Performance (with VI Overlay off) |
|---|---|---|---|---|
| Cached interpreter | Windows 10 | Old Angrylion | 52fps | 63fps |
| Dynarec | Windows 10 | Old Angrylion | 52fps | 64fps |
| Dynarec | Windows 10 | New Angrylion Multithreaded | 114fps | 123fps |
| Cached interpreter | Windows 10 | New Angrylion Multithreaded | 106fps | 118fps |
Linux
| CPU Core | Angrylion version | OS | Performance (with VI Overlay on) | Performance (with VI Overlay off) |
|---|---|---|---|---|
| Cached interpreter | Linux | Old Angrylion | 53fps | 63fps |
| Dynarec | Linux | Old Angrylion | 55fps | 65fps |
| Dynarec | Linux | New Angrylion Multithreaded | 72fps | 84fps |
| Cached interpreter | Linux | New Angrylion Multithreaded | 69fps | 82fps |
macOS
Too slow to be worth bothering with, singlethreaded Angrylion actually turned out faster here. That is why the Mac version will still be using the old Angrylion version.
Videos
Conker’s Bad Fur Day
Banjo Tooie
Biohazard 2/Resident Evil 2
Killer Instinct Gold
Super Mario 64
Sources
https://github.com/libretro/parallel-n64
https://github.com/ata4/angrylion-rdp-plus/commits/master
Performance tips
Some core options have the potential to dramatically improve performance.
Quick Menu -> Options -> Framerate – You can set this to either ‘Original’ or ‘Fullspeed’. Original will attempt to run the game at its original framerate, while Fullspeed bumps it up to 60 V/Is. Note – if you find a game is running below fullspeed on your system, consider setting this to ‘Original’. I know that in Conker’s Bad Fur Day and Pilotwings 64, there is a big performance impact if you set it to ‘Fullspeed’.
Quick Menu -> Options -> VI Overlay – Disabling this can give you a 10 to 20fps speedup at the expense of the VI overlay’s filtering being lost, leading to a more pixelated but less blurry image. Also note that some games may not work properly with VI Overlay off right now, such as Resident Evil 2.
How to improve the graphics
In case you find the N64’s native resolution and blurry VI filter to be unpalatable, we want to bring your attention to various things you can do to improve your graphics.
In this video we will be showing you how to apply a so-called ‘Super VI Mode’ filter in order to improve the N64’s graphics.
Note – how these shaders will perform depends entirely on the power of your GPU. The configuration you see later in the video (nnedi-4x) requires a lot more GPU power than the former one (2x). Be mindful of this.
This video will teach you:
* How to load shader presets
* How to stack additional shader chains on top of existing shader presets
* How to configure shader parameters to adjust the screen.
We hope this video will tickle your curiosity so that you will try to hit upon even more fancy shader configurations! The sky is the limit with RetroArch and our common shaders library.