Beetle PSX Dynarec – Accurate PlayStation1 emulation is about to become a lot faster!


Two years ago, we started a bounty for Beetle PSX, our own heavily modified fork of Mednafen PSX. Mednafen PSX is a highly accurate PlayStation1 emulator. However, unlike emulators like ePSXe, it only has a CPU interpreter, which means that the emulator is fairly slow and is therefore not really usable on anything but desktop PCs and high end mobile phones. The bounty was created on BountySource in hopes of attracting someone who could add a dynamic recompiler to Beetle PSX so that it could run much faster and therefore be a viable emulator on lower end hardware, such as mid range mobile phones, game consoles, older PCs, etc.

We can happily report that heavy progress is being made on this bounty right now courtesy of two bounty hunters, and we have been able to test builds which confirm that it is in fact already working for some games. Right now, the dynarec is still in a fairly WIP (Work In Progress) state, many of the more popular games will crash or hang, but the ones that do work so far show a substantial increase in maximum framerate even on a Core i7 7700k CPU.

Game Without dynarec With dynarec
Alien Trilogy 227fps 415fps
Castlevania: Symphony of the Night 190fps 380fps
Crash Bandicoot 170fps 315fps
Doom 210fps 386fps
Mortal Kombat Trilogy 212fps ~500fps
Tekken 3 178fps 224fps
Tomb Raider 218fps ~450fps

NOTE: These tests were conducted on a Windows PC with a Core i7 7700k CPU. It should be noted that this is a highly experimental build and that the performance we measured here should be considered a snapshot performance overview. Most likely when the dynarec is merged into master, we should be looking at much higher framerates still.

1x software rendering mode was used during testing.

What does all this mean?

Higher performance means the core becomes far more viable to be used on other platforms. Up until now, ARM platforms have had to resort to PCSX ReARMed for their PlayStation1 emulation needs because Beetle PSX is simply too slow to run on these systems (unless you’re using a cutting edge iPhone/Android phone of course, and even then, on a Galaxy S10+, I’ve only been able to reliably run most games at fullspeed at 1x resolution with the software renderer). This means that when the Aarch64/ARMv7 backends start working, Beetle PSX could become another possibility for people wanting to use a PlayStation emulator. There’s always room for two emulators and it never hurts to give the user several options for a certain system, especially for a system as popular and with as many games as the PlayStation1.

Higher performance also means more potential for CPU overclocking and runahead latency reduction. Both require a lot of CPU resources, so the higher the performance, the more wiggle room we have to push both.

Implementation

pcercuei made a dynamic recompiler for MIPS powered by GNU Lightning. ZachCook then backported this system to work with Beetle PSX. Previous working implementations were PCSX ReARMed and PCSX 4 All.

When will this release?

We don’t do ETAs for this, and please don’t bug the developers about this. Let them work in peace, that results in better code too. We just wanted you to know about this exciting development that has been going on since it has been at least two years since the bounty started and finally we are starting to see the dream become a reality. We for one can’t be more excited!

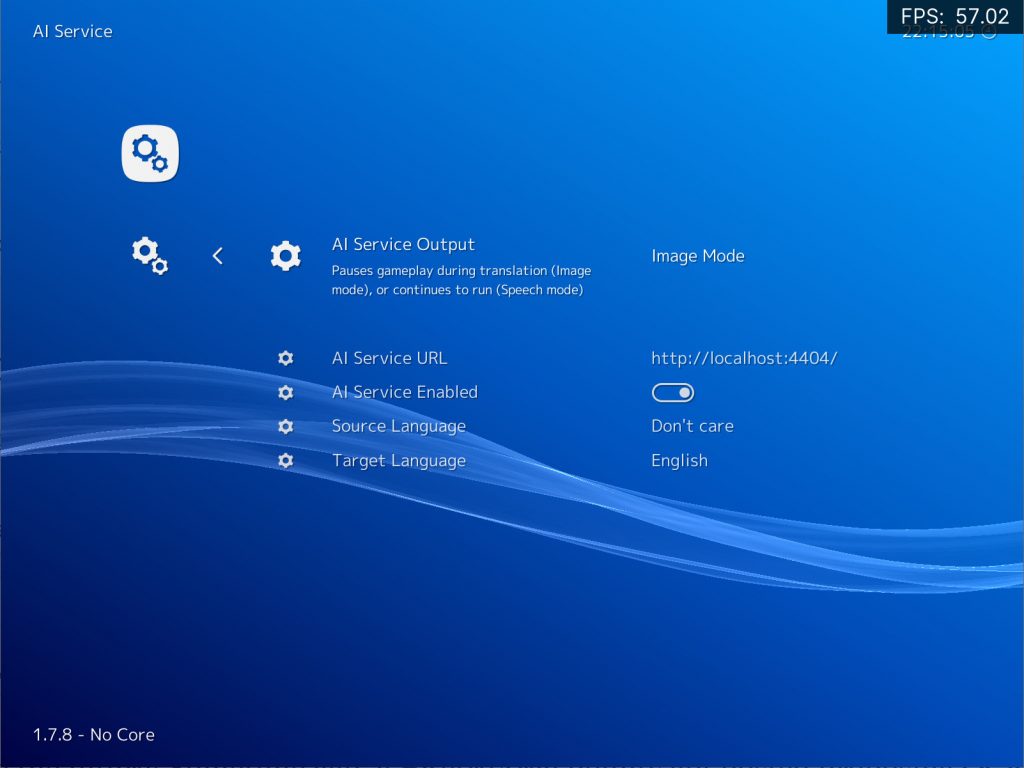
Beyond that, we are even more convinced than ever that bounties have been an accelerator for innovation and growth for the project all-around. Our last major smash hit feature, the AI Service, was all courtesy of a bounty funded by both libretro creators and the community alike. Together we make amazing stuff happen, and we truly have our users to thank for all the amazing support they have given this project over the years.

RetroArch v1.7.8 (v4) released

RetroArch 1.7.8 v4 has just been released. Another point fix release, but it has some important changes especially for iOS and Retro Achievements users.

Grab it here.

If you’d like to show your support, consider donating to us. Check here in order to learn more.

For all other details surrounding version 1.7.8, we refer you to our original article here.

Changes

  • COMMON: Enable customisation of runtime ‘last played’ display format
  • CHEEVOS: Add hashing support for PSX (bin/cue, chd, or real CD) (for real this time, got added in the CHANGELOG for v2 then reverted before it hit release)
  • IOS: Update for iOS 13, fix the asset packaging issues
  • LOCALIZATION: Update Portuguese Brazilian Translation
  • MENU: Add 12-hour time/date versions of all formats
  • SWITCH: Add ‘AI Service’ option to Switch (untested)
  • SWITCH: Update to newest libnx toolchain

Flycast WinCE has merged into regular Flycast – only one core now! Plus – Switch port teaser!

So, flyinghead finally feels confident enough that we are at a stage where the WinCE branch can be merged into master.

This is a pretty big deal. This marks the first time that an open source Dreamcast emulator has Windows CE support in a mainline release, along with arcade Naomi support. Right now, the only other emulator that manages to emulate both these is a closed source emulator called demul. So this is a pretty big milestone for us.

So, what do you have to do from this point on?

– Go to the Online Updater, select ‘Update Cores’, and download ‘Flycast’.
– Remove the old Flycast WinCE core. It no longer serves any purpose, you can just download the Flycast core instead which was Windows CE support now built-in. If you have any games in your old playlists that still use the Flycast WinCE core, reset the core association and make it use the main Flycast core now.

This has been a tremendous undertaking and in the process, so many improvements have been made as a result:

* (Windows CE) The reason why the Windows CE build was separate before was that the addition of the MMU codepath would greatly hurt the performance of every non-Windows CE-based game. This is no longer the case thankfully. Instead, performance has actually improved over the non-Windows CE build from before (see the next point).
* (Optimizations / Performance) Thanks to SSA optimizations, performance is better across the board now for every game, whether it is a Windows CE-based game or not. We figure it’s about 30% faster on average give or take.
* (Libretro core-specific) Certain core options now get hidden depending on other settings that are turned on/off which they are dependent on. For instance – ‘Show VMU Display Settings’ – if you enable this and then leave the Quick Menu options screen and re-enter it again, it will show all the VMU display options. Turn this off and repeat the same process in order to hide all the VMU display-related options again. This will greatly unclutter the options list.
* (Libretro core-specific) A new setting that appears when Threaded Rendering is enabled – ‘Delay Frame Swapping’. This waits until the frame is rendered by the digital video encoder which means it’s being displayed on the screen. This helps avoid displaying bogus/empty frames that would not be shown on a real console. Without this option enabled, you can get heavy screen flickering with some games (such as South Park Chef’s Luv Shack and NFL Quarterback Club 2000).
* (Libretro core-specific) Auto-configuration of early input polling when threaded rendering is enabled. Threaded rendering needs early input polling configured or else input will be buggy. In the past, the user needed to do this manually on RetroArch, which greatly complicated things. Now instead, we do this behind the scenes through a private libretro API extension, so you no longer have to tediously configure this yourself. It was annoying and could mess with your configuration since for other cores you would really want to set it to late input polling for the best input latency.
* AICA sound emulation has greatly improved and can now be considered mostly feature complete. We have included a before and after comparison of Skies of Arcadia so you can get an idea of how much of an improvement it is – this is Skies of Arcadia before and after implementing the LPF (Low-Pass Filter) –

Before –

After –

So, in short, the low-pass filter has been implemented. This filter has an envelope, similar to the already implemented one for amplitude. It varies the cut-off frequency for attack/decay/sustain/release. The other thing added is the pitch LFO, which is used to create a vibrato effect. So far, the only sound inaccuracy I have noticed in a game is that certain music that is triggered upon events (such as in Resident Evil Code: Veronica) does not get properly faded out. Apart from that, sound accuracy has seen a tremendous improvement, really night and day in a lot of respects in games like Resident Evil 2 and Skies of Arcadia.

* (AMD) Per-pixel alpha sorting has been fixed on AMD GPUs. Previously ,it would look like this on Windows (at the main BIOS menu) –

Switch port teaser

Flycast Libretro is coming to RetroArch Switch courtesy of Datamats! For now it uses the interpreter core only, but m4xw is going to work on getting the dynarec working. No ETA and don’t bug the devs about it until it’s done!

RetroArch 1.7.8 – AI Service – How To Set It Up

Welcome to the future! Sometime ago, a #RetroArch bounty got posted proposing OCR (Optical Character Recognition) and Text To Speech services being added to RetroArch.

Some months later, and here we are – a bounty hunter valiantly took on the challenge and there is now a fully fledged AI Service up and running that works seamlessly with #RetroArch!

You use the AI Service like this – you enable the AI Service (should be enabled by default), you then setup the server URL (could be a local network address if you have the server up and running in your own network, or a public IP/URL in case you’re going through a service). After that, you only need to bind a button or key to the so-called “AI Service” action. You can bind this key by going to Settings – Input – Hotkeys.

In this video, you can see each of the two modes that the AI Service currently is capable of doing –

Speech Mode – Upon pressing the AI Service button, a quick scan is done of the text, and the recognized text is then translated to speech. You can press the AI Service button at any time and it will try to process the current snapshot of the screen it made. This mode is non-interruptable, meaning the game will continue running when you hit this button, and the output speech will take as long as it takes for the server to respond to your query and pipe the sound to RetroArch.

Image Mode – In image mode, it tries to replace the text onscreen with the output text. For instance, in the video you see above, the game is played in Japanese, so when we hit the AI Service button, it tries to replace the Japanese text with English translated text. This mode is interruptable – this means that when you hit the AI Service button, it pauses the game and shows you an image with the replacement text UNTIL you hit either the AI Service hotkey or the Pause hotkey again, then it will continue playing.

We encourage everybody that wants to submit feedback to us on this amazing revolutionary feature to go to our Discord channel and in specific the #retroarch-ai channel. We’d love to hear your feedback and we’d like to develop this feature further, so your input and feedback is not only appreciated but necessary!

VGTranslate using Google API keys

1.0 Get a Google API key

  • Create a billing account (taken from https://cloud.google.com/billing/docs/how-to/manage-billing-account )
    • Go to the Google Cloud Platform Console Manage billing accounts page and sign in or, if you don’t already have an account, sign up.
    • Click the Create account button.
    • Enter the name of the billing account, then click Continue. Note that if you see an Organization  drop-down, then you must also select an Organization before you can continue.
    • You might be prompted to select your country. The choice will affect the payment options you have in  the next step. The currency for your billing account is based on the country you select.
    • Choose the payments profile that will be associated with this billing account. You can choose an  existing payments profile, or create a new payments profile. If you choose to create, follow the  instructions on the screen to set up your payments profile.
    • Set your Account type as individual
  • Create an API Key: (taken from https://cloud.google.com/docs/authentication/api-keys )
    1. Navigate to the APIs & Services Credentials panel in GCP Console.
    2. Select Create credentials, then select API key from the dropdown menu.
    3. Click the Create button. The API key created dialog box displays your newly created key.
    4. This is your GOOGLE_API_KEY that we will use later.

2.0 Setup VGTranslate

  • Windows:
  • Linux:
    • Download the vgtranslate project from https://gitlab.com/spherebeaker/vgtranslate.git or use git clone.
    • Go to the extracted vgtranslate directory where setup.py is located.
    • Using python2.7, run: python setup.py install -If this step fails, you can try removing the problematic dependency.  Dependencies like gender-guess and kivy are not needed for most functionality. -Change the default_config.json file as in the windows case.
    • Go into the vgtranslate subdirectory and run: python serve.py

3.0 Setup RetroArch

AI Service Settings
  • Start RetroArch -Settings->Input->HotKey Binds->AI Service
  • Change to key/button of your choice
  • Settings->AI Service -Set AI Service Output to “Image Mode” (text translation) –
    OR set AI Service Output to “Speech mode” (text-to-speech)
  • Set AI Service URL to “http://localhost:4404”
  • Set AI Service Enabled to on.
  • Set Target Language to your language of choice
  • Source language will be used as a hint for the OCR, but can be left to “Don’t Care”
  • Run a game of your choice
    1. Image Mode (Text translation)
      1. Press your hotkey to pause the game, and wait for a translation to come back.
      2. Press your hotkey again to unpause and continue
    2. Speech Mode (Text To Speech)
      1. Press your hotkey to read out the text currently on the screen.
Bind the AI Service hotkey to a key or button

4.0 ZTranslate Service API Option

ZTranslate API Key method

  • Go to https://ztranslate.net/signup
  • Enter a display name, email, and password, and click register
  • Check your email for the verification link and click on it.  If you don’t see it, check your junk/spam folder.
  • In the top menu, click on “Settings”
  • Copy the API KEY near the bottom of the page.  This is your ZTRANSLATE_API_KEY.
  • Follow instructions in 3.0, but
    • For AI Service URL, put in: “http://ztranslate.net/service?api_key=<ZTRANSLATE_API_KEY HERE>”

5.0 – ZTranslate API via VGTranslate

Follow instructions 2.0, 3.0, and 4.0, except:

  • when modifying default_config.json, use the following: (link here)
  • Change AI Service URL to “http://localhost:4404”.
  • This will use the ztranslate API method, but will reduce latency compared to hitting the service API directly.