RetroArch keeps introducing innovations to the retrogaming world, constantly building simple roads for players to enjoy classic games in new and sometimes better ways.
Getting the sweet spot between ease of use and customization can be a time-consuming process, and sometimes requires a deep insight of how old technologies worked: refresh rate, aspect ratio, scaling, overscan, deconvergence are terms which we may or may not be familiar with, and these all play an important part in building a retro gaming experience that feels better, yet passionately authentic.
How do we get a handle on this?
Building an idealized CRT (cathode ray tube) like display experience. Getting the best out of post-processing with the latest CRT shaders fused into a “one stop” solution. Making it incredibly easy to customize, and yet performant. A fresh and unique starting point for the retro game lover.
Console branded tv by Soqueroeu, great for playing on a big screen in the living room
The Mega Bezel Project started back in July 2019 when developer HyperspaceMadness was looking at experimental shaders creating real-time reflections on emulated display bezels. More than two years later, the swiss-army-knife of visual simulation to enhance the retro game experience is ready for players!
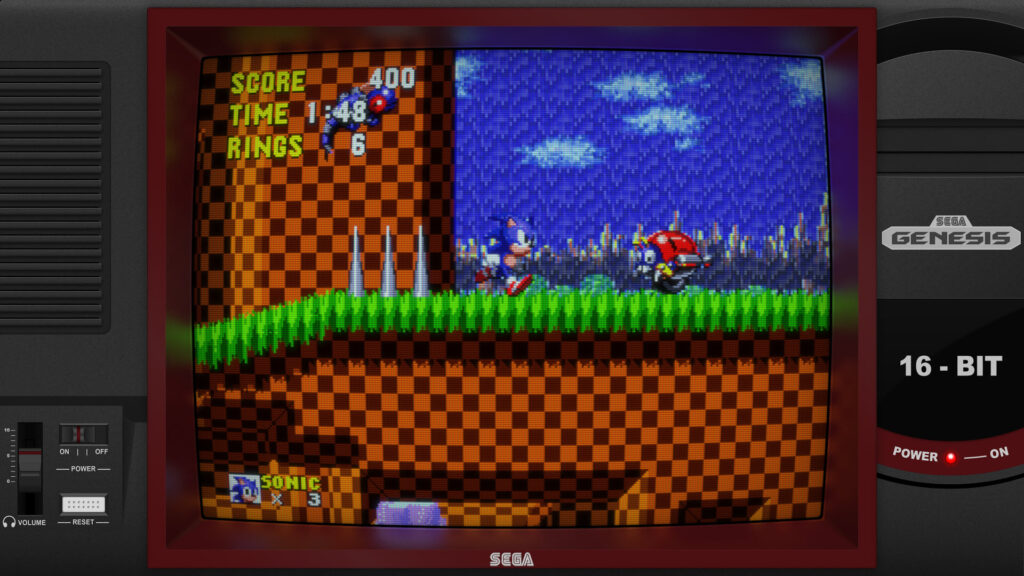
Sonic with a Blended Waterfall, Genesis Preset and graphics by Duimon
The Mega Bezel is unique in that it bends the common definitions of shaders and overlays in an out-of-the-box experience: custom calculations take care of games native resolution and scaling, dynamically draw bezels around the gameplay area filled with curvature simulation and reflections, incorporating a unique pipeline of CRT simulation models and other visual conditioning of the game image, color correction, de-dithering, and adding responsive backgrounds and lots of additional features to enjoy.
The shader centralizes a lot of complex tasks and makes them instantly available for all cores: screen rotation and position, horizontal and vertical orientation, zooming, cutting away games black spaces to get a real full-screen, and filling the aspect ratio difference between the emulated screen and your monitor with interesting graphics. Mega Bezel even adds original solutions, like the ‘Night Mode’ to simulate a dimly lit room and ‘Glass Mode’ for a modern and dynamic way to fill the entire monitor.
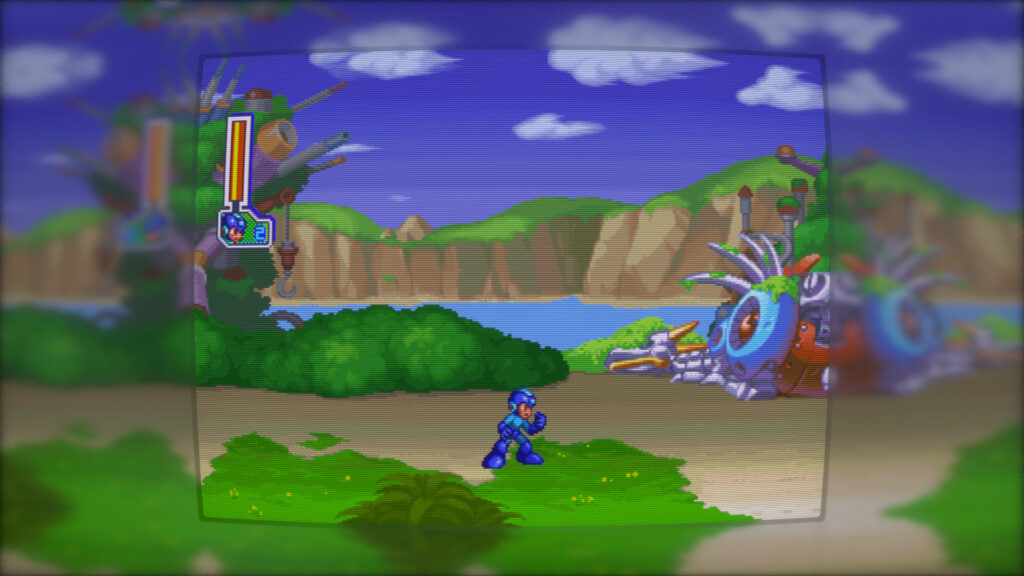
Mega Man 8 with the Glass Preset, good for filling the screen, avoiding any worries of OLED burn-in
Being based on contributions and discussions from the Libretro forums, Mega Bezel is a community project at its heart: shader writers and artists are actively developing features and customized presets which max out the shader capabilities, and making them freely available for retro players to enjoy and further customize, chasing the their ideal setup.
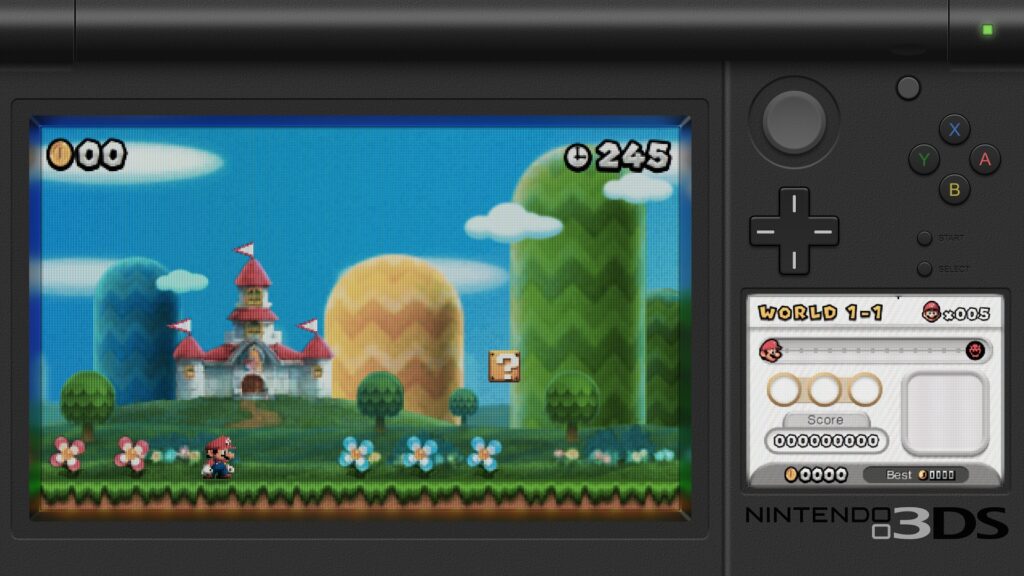
3DS Preset by Duimon with alternate layout and custom graphics
Easy to use for newcomers, deep in customization for emulation maniacs, flexible for artists: the Mega Bezel project is a fun ongoing journey that strives to bring wonderful features to everyone, minus the hassle of setup!
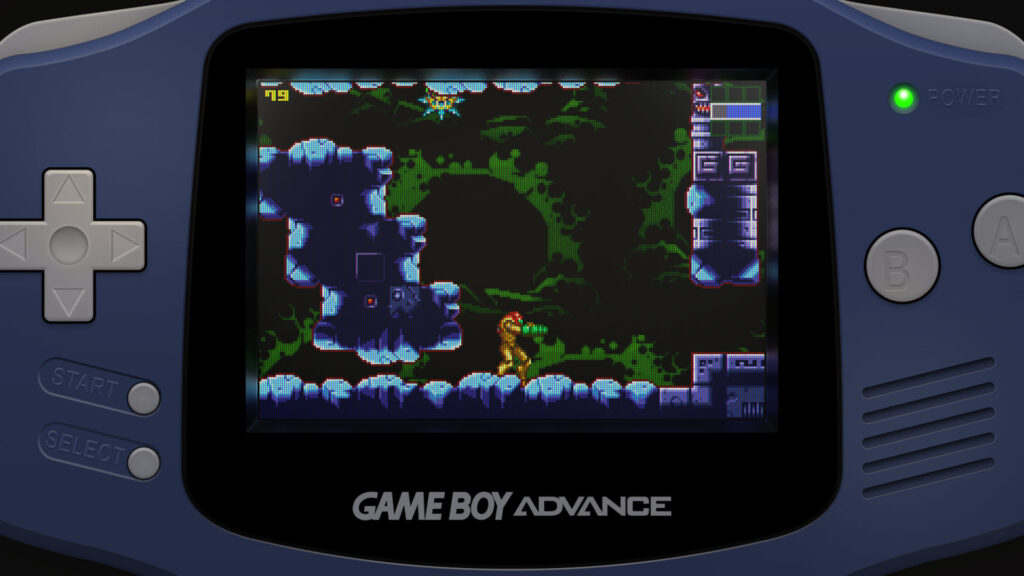
Game Boy Advance LCD Preset & Graphics by Duimon
You can get the basic Mega Bezel shaders inside RetroArch by running Online Updater -> Update Slang Shaders then the shaders will be located inside shaders/shaders_slang/bezel/Mega_Bezel/Presets. Be sure to read the setup portion of the ReadMe.md to help you get started you can find it in the Mega_Bezel folder just mentioned.
A small group of talented artists has also come together using the Mega Bezel to create suites of shader presets with beautiful graphics covering many consoles, computers and PVMs to share with retro gamers.
If this sounds exciting head over to the Mega Bezel thread on the Libretro forum to find more about the Mega Bezel, and links to the artist’s pages and shader preset collections.
Below are more examples of the Mega Bezel and artwork from the community.
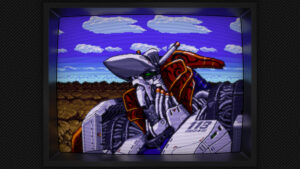
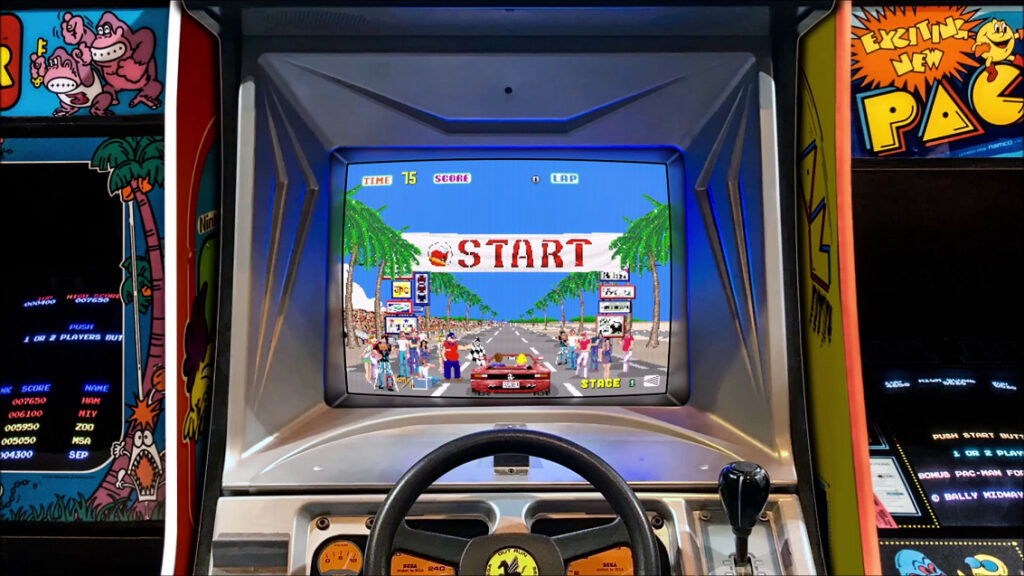
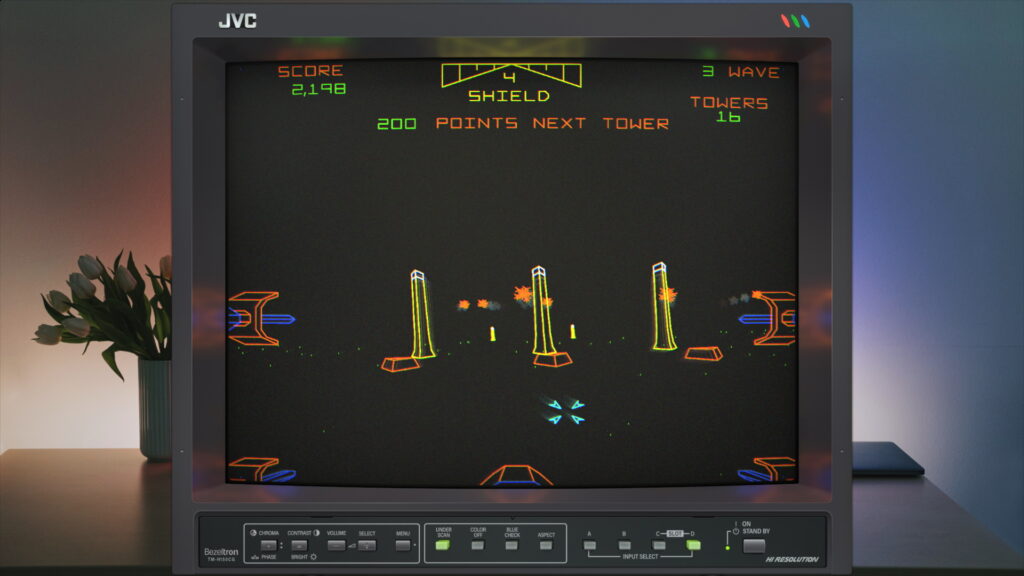
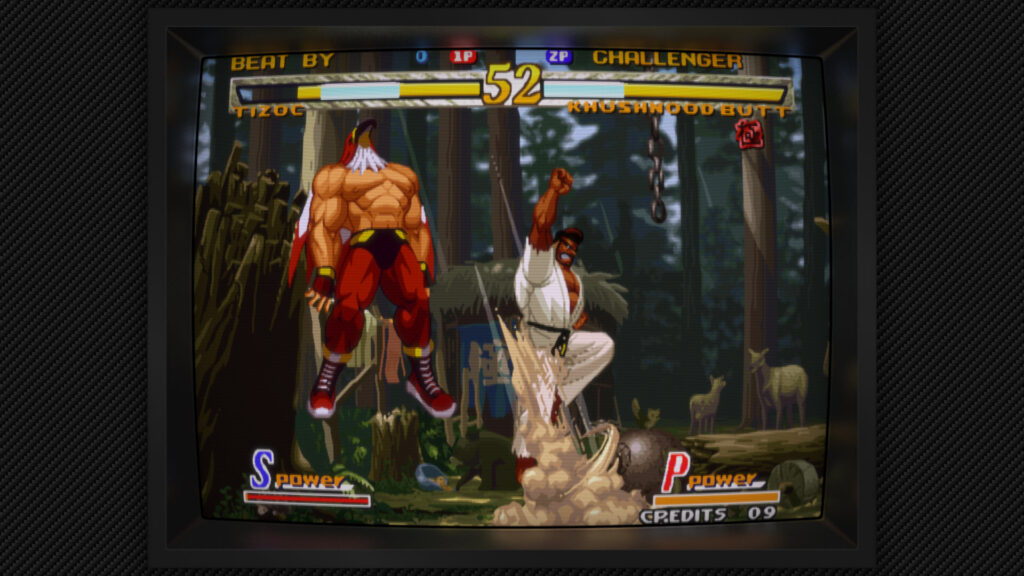
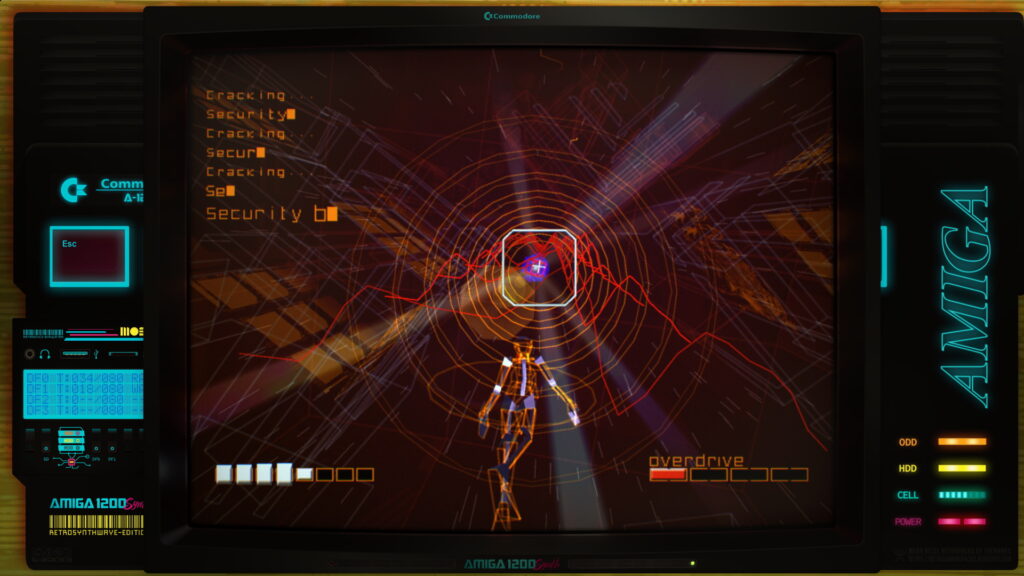
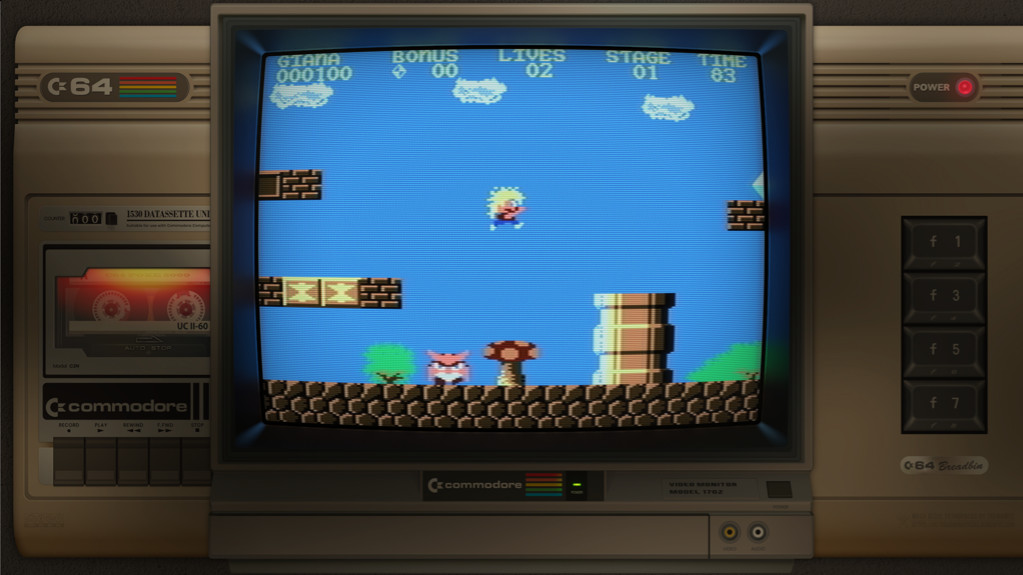
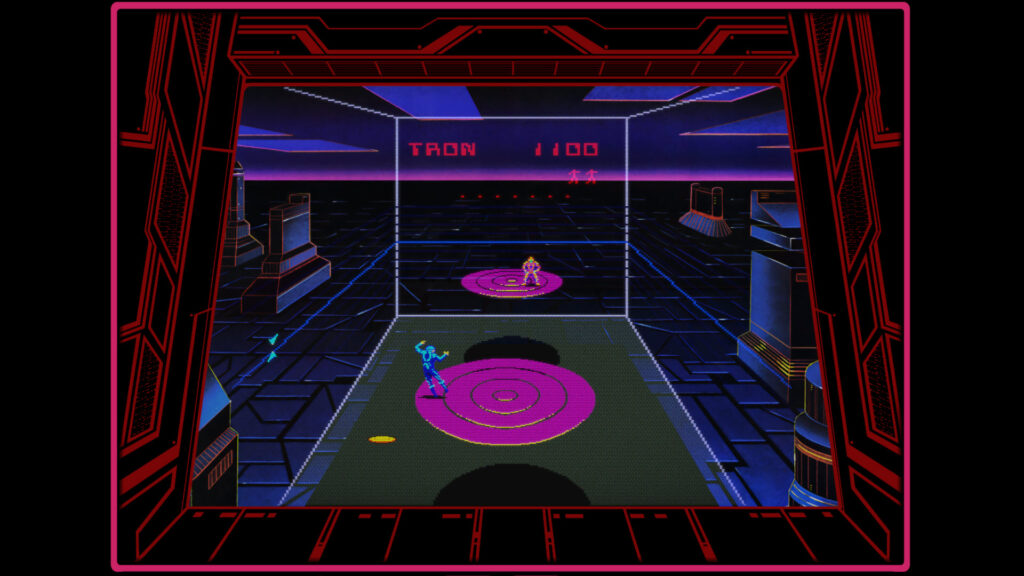
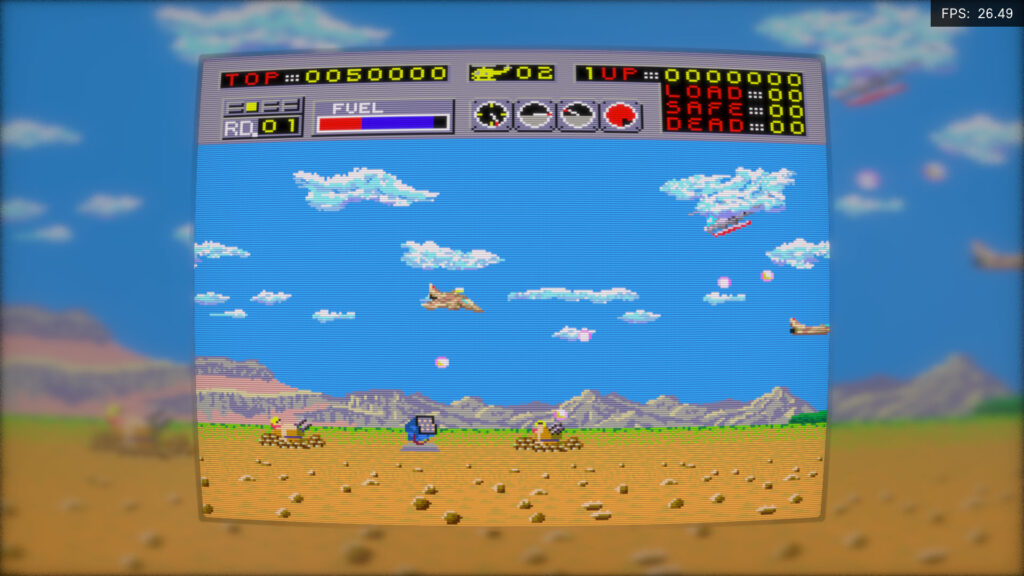
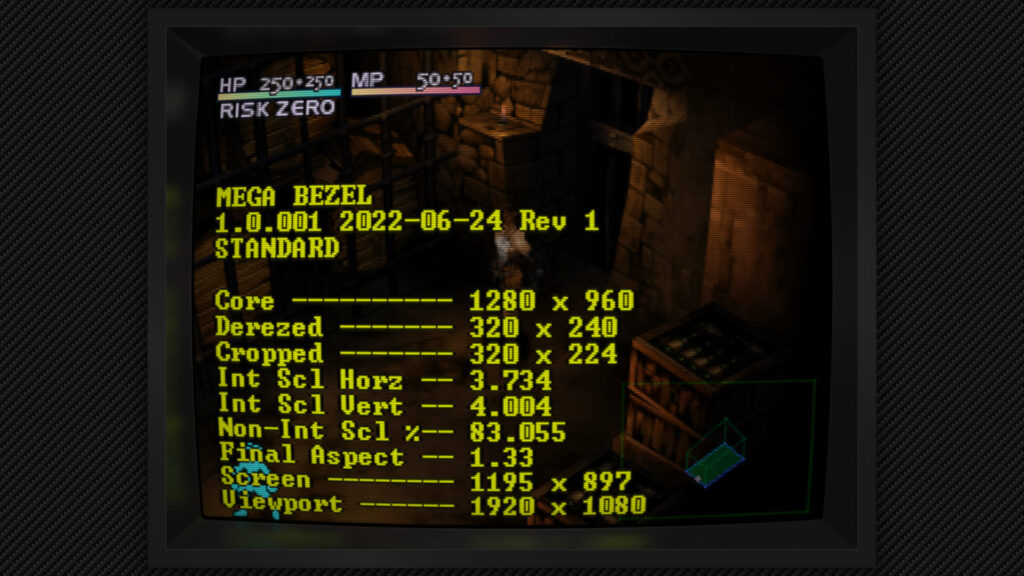
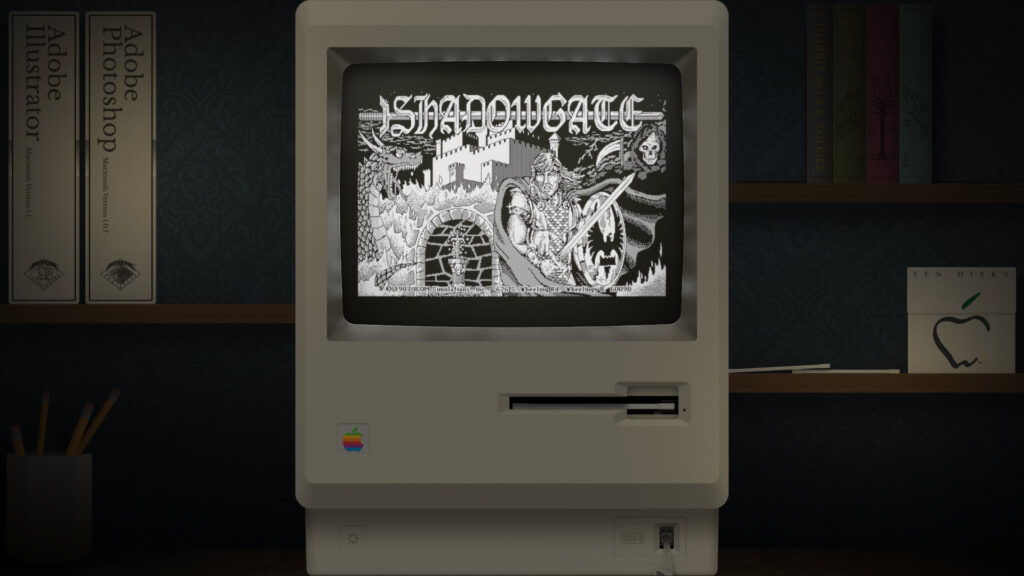
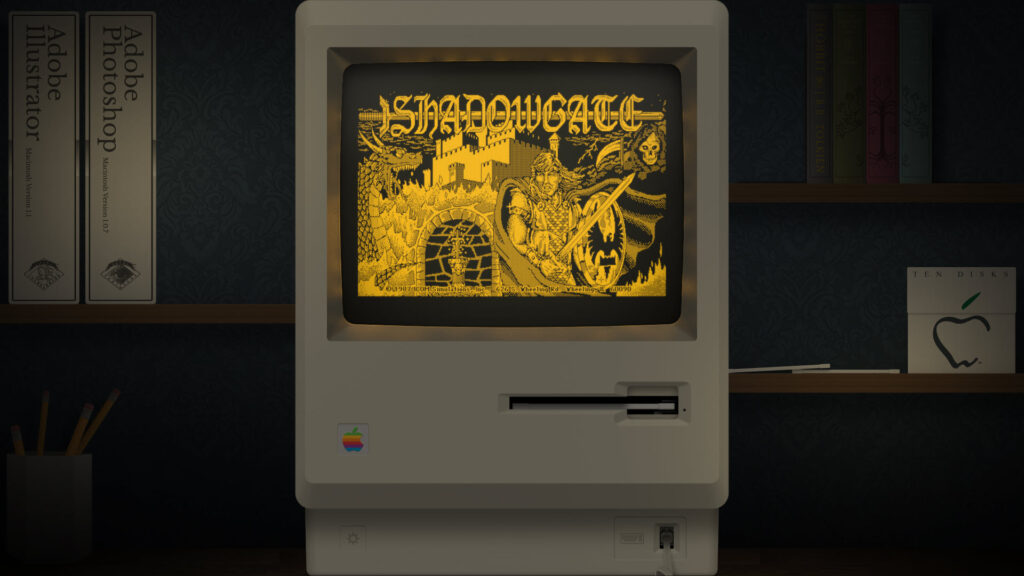
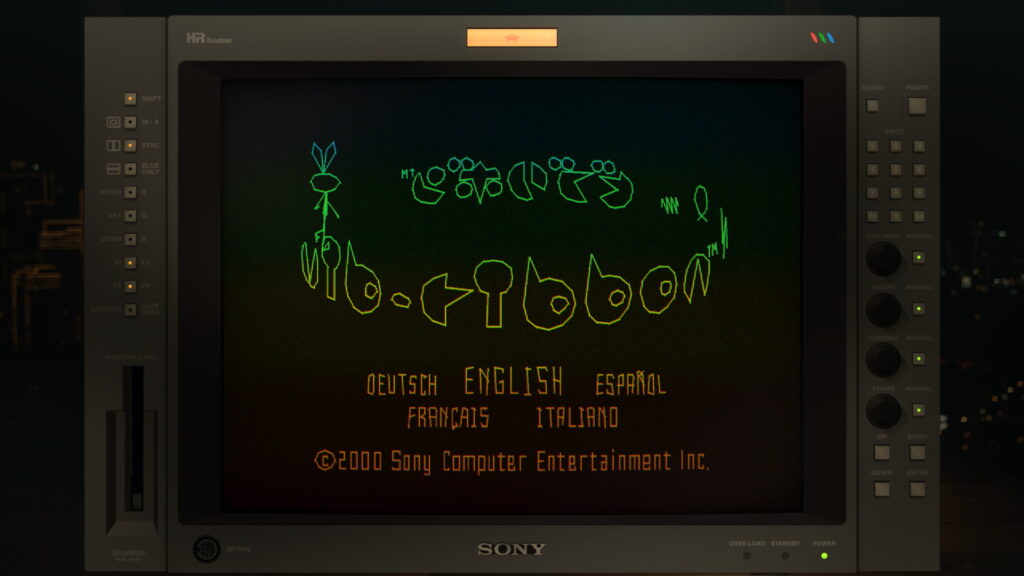
OutRun preset and graphics by Orion’s AngelStar Wars with a lovely JVC PVM from TheNamec!Garou: Mark of the Wolves with Smoothed PresetREZ with Dreamcast core upscaling with shader downscaling and cyberpunk style by TheNamecMonkey Island with some smoothing and deconvergence magicThe Great Gianna Sisters with a preset and graphics by TheNamecTron’s Deadly Discs showing supports for the game Image on top of backdropChoplifter with the Glass preset and some scalingResolution info can be printed to the screen so you can see what resolutions are usedShadowgate on Macintosh with graphics by DuimonMonochrome Amber mode appliedVib Ribbon on PS1 with color added and a nice PVM from TheNamec
SwanStation is a totally new PlayStation 1 (aka PSX) emulator focusing on playability, speed, and long-term maintainability. Accuracy is not the main focus of the emulator, but the goal is to be as accurate as possible while maintaining performance suitable for low-end devices. “Hack” options are discouraged, the default configuration should support all playable games with only some of the enhancements having compatibility issues. A “BIOS” ROM image is required to start the emulator and to play games. You can use an image from any hardware version or region, although mismatching game regions and BIOS regions may have compatibility issues. A ROM image is not provided with the emulator for legal reasons, you should dump this from your own console using Caetla or other means. SwanStation includes hardware rendering (OpenGL, Vulkan and D3D11), upscaling and 24-bit color and a 64-bit dynarec.
It is currently available on the Libretro buildbot for the following platforms:
Windows
Linux
Android (AArch64-only)
Features
Relatively high degree of compatibility
Has three hardware renderers: OpenGL, Vulkan, and Direct3D11
Allows you to internally upscale the resolution
Has a dynamic recompiler and cached interpreter CPU core
Ability to run PSX CDROM emulation on a separate thread, reducing frame time spikes
How to get it
There are two ways to install and/or update the SwanStation core:
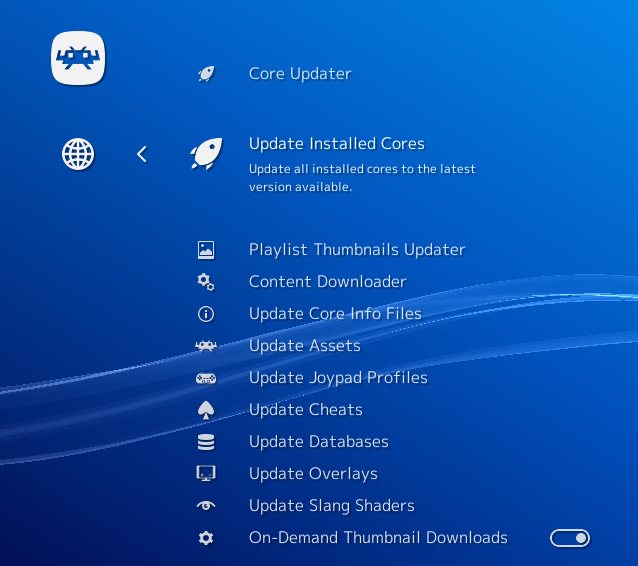
a – If you have already installed the core before, you can go to Online Updater and select ‘Update Installed Cores’.
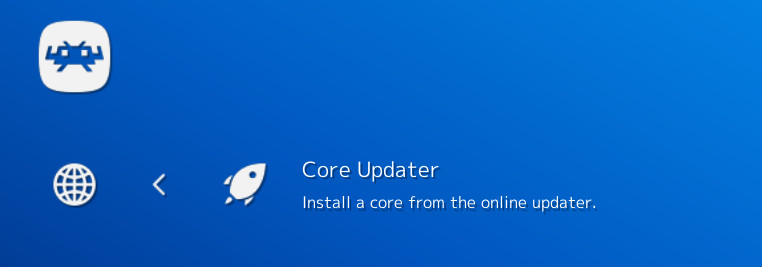
b – If you haven’t installed the core yet, go to Online Updater, ‘Core Updater’, and select ‘Sony – PlayStation (SwanStation)’ from the list. It will then download and install this core.
BIOS required
SwanStation, like Beetle PSX, requires a real BIOS in order to work. There is no HLE BIOS like PCSX ReARMed.
A “BIOS” ROM image is required to start the emulator and to play games. You can use an image from any hardware version or region, although mismatching game regions and BIOS regions may have compatibility issues. A ROM image is not provided with the emulator for legal reasons, you should dump this from your own console using Caetla or other means.
Recognized BIOS images:
scph5500.bin
scph5501.bin
scph5502.bin
Benchmarks
System specs: CPU – Intel Core i7 7700k | GPU – Geforce RTX 2080 Ti (11GB VRAM, 2018) | 16GB RAM
We’ve performed some basic performance tests between SwanStation and Beetle PSX HW. We are using the same baseline resolution (1x) for both cores, and we try to make the test as fair as possible by disabling features such as PGXP and texture filtering for Beetle PSX HW (both features which SwanStation lacks).
SwanStation
Title
Direct3D11
Vulkan
OpenGL
Tekken 3
396fps
414fps
335fps
Alien Trilogy
538fps
552fps
499fps
Beetle PSX HW
NOTE: Beetle PSX HW does not have a Direct3D 11 renderer
Title
Vulkan
OpenGL
Tekken 3
326fps
229fps
Alien Trilogy
480fps
473fps
As you can see, on average performance is overwhelmingly in SwanStation’s favor. It does have to be said that Beetle PSX HW right now has some unique features that SwanStation lacks, such as PGXP and texture replacement.
Conclusion
You should definitely give SwanStation a go if you want a high performance PlayStation1 emulator. If you find Beetle PSX HW to be running too slowly for you on your system, you should check if SwanStation is faster instead.
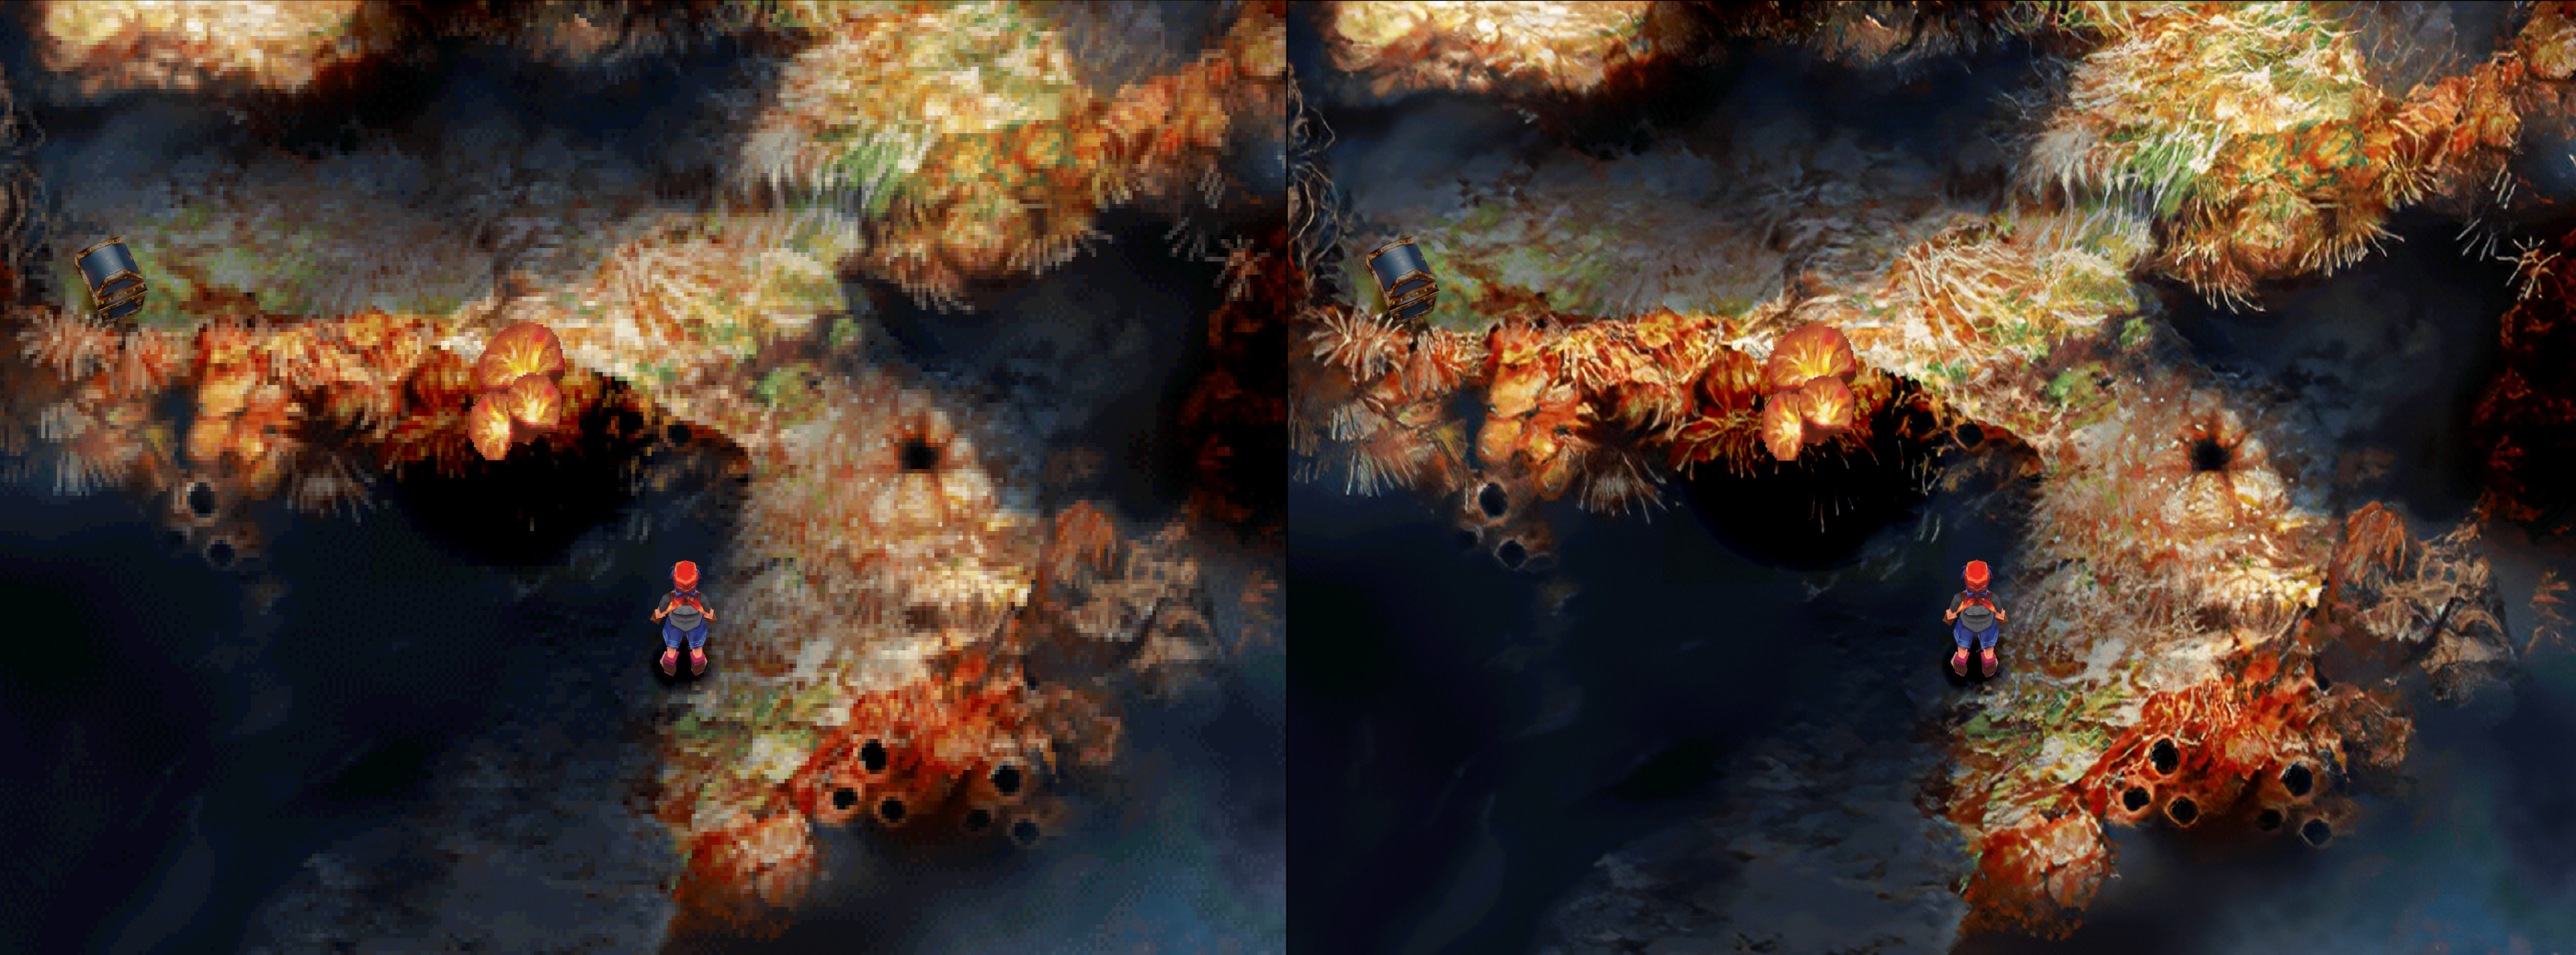
DISCLAIMER: Libretro as a group or entity has no affiliation or involvement in the creation of assets contained in any texture pack
So this has been a project that has been cooking in the oven for about a year in the form of a bounty. The goal is to come up with a way to not only dump all the textures of a PlayStation1 game, but also to replace them with user-supplied textures.
Doing this is hard with PlayStation renderers due to the general low level of abstraction of these renderers, which is why it’s not exactly a commonplace feature in many PS1 emulators.
So far we have let it cook slowly in the oven. However, the recent release of people preparing a Proof Of Concept demo in the form of a Chrono Cross texture pack and the circulation of a modified Beetle PSX HW core that adds support for custom texture injection has led us to make the decision to include this feature already in the buildbot cores rather than wait it out. We hope by doing this, that this feature can organically grow and that more people start taking an active interest in making their own texture packs this way for their own favorite content. Libretro is all about enabling people the power and freedom to do what they want with their legally bought content, after all.
Requirements/Availability
Should only require the Vulkan renderer and a graphics card that is compatible with the Vulkan API. Will not work with either OpenGL or software rendering.
Android, Linux and Windows are all supported targets.
How to get it
The usual. Either you have Beetle PSX HW already installed, in which case you would just go to RetroArch’s Online Updater and select ‘Update Cores’. In case you don’t have it already installed, go to ‘Online Updater’, select ‘Core Updater’ or ‘Core Downloader’ (depends on the version of RetroArch you’re using), and then download Beetle PSX HW.
Explanation of core options
Two new core options have been added.
Dump Textures
While the game is running, it will dump all current active textures it comes across to a directory. The name of this folder is [gamename]-texture-replacements, and it will dumped inside the same dir that your content (ISO or other image format) comes from.
Replace Textures
It will attempt to use all HD textures from the ‘texture-replacements’ directory. The name of this folder is [gamename]-texture-replacements, and it will try to read this directory from the same dir that your content (ISO or other image format) comes from.
NOTE: Later on, we might add another option that allows you to point the dumping and injection path to somewhere else. Right now this is a problem for instance when you have your content stored on a slow disk device like a HDD but you want your texture replacement files to be read from your much faster but smaller SSD instead. Right now, you are forced to move the image to your SSD as well, because otherwise it just dumps and/or reads these texture replacement files from the same dir as the image, in this case the mechanical harddrive.
How to make it work
Make sure you have the textures extracted already in your [ganename]texture-replacements dir, and make sure that the dir is in the same dir that your game content file (ISO or other image format) comes from.
Start Beetle PSX HW, make sure that you are using the Vulkan renderer (it won’t work with either the software renderer or GL renderer), and then make sure the ‘Replace Textures’ option is enabled.
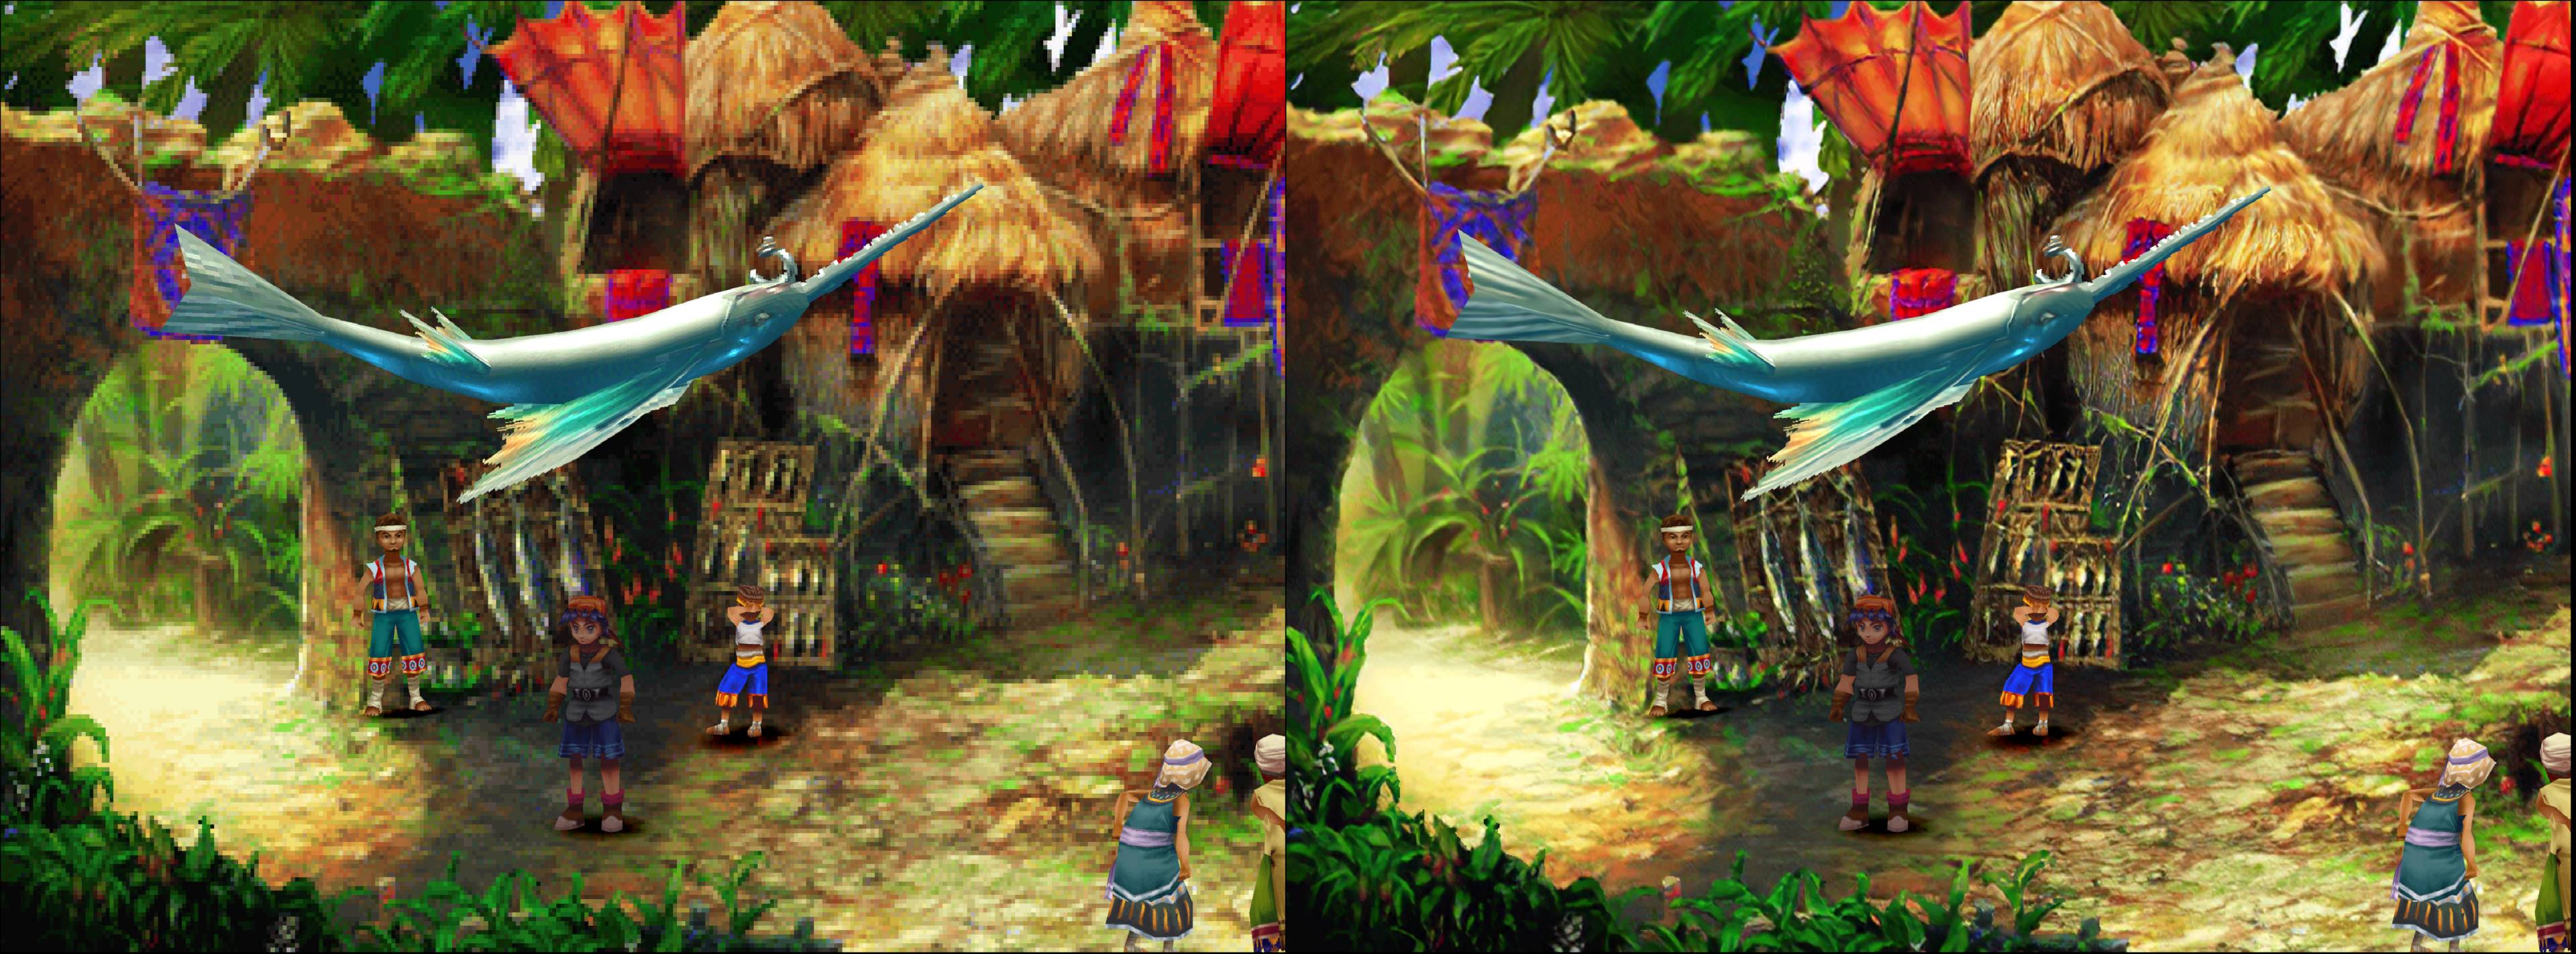
If it works properly, you’ll start seeing low-resolution textures replaced by higher-resolution ones.
Screenshots
Future
We hope to provide you with an article in the near future that goes into how to create your own texture pack for a game.
Is the format set in stone? Is it complete? Probably no to both. It is a Work-In-Progress. However, we hope that by putting it out there already, the community can already start experimenting with the option, putting it through its paces, and see what its limitations are and how far it can be pushed.
We are delighted to announce that the Beetle PSX dynarec bounty is finally entering its public beta stage and is available to the public right now!
The dynarec project for Beetle PSX would not be where it is today without the combined efforts of simias, pcercuei and Zach Cook!
If you are on Android, Windows, Linux and/or macOS, all you have to do to get the latest core is to open RetroArch, go to Online Updater, and either select ‘Update Installed Cores’ (if you already installed the Beetle PSX core before), or install the Beetle PSX and/or Beetle PSX HW cores separately.
What’s this all about?
In 2017, we started a bounty for Beetle PSX, our own heavily modified fork of Mednafen PSX that has pretty much become its own thing at this point. Mednafen PSX is a highly accurate PlayStation1 emulator. However, unlike emulators like ePSXe, it only has a CPU interpreter, which means that the emulator is fairly slow and is therefore not really usable on anything but desktop PCs and high end mobile phones. The bounty was created on BountySource in hopes of attracting someone who could add a dynamic recompiler to Beetle PSX so that it could run much faster and therefore be a viable emulator on lower end hardware, such as mid range mobile phones, game consoles, older PCs, etc.
What pcercuei and Zach Cook have come up with is a Lightrec-based dynamic recompiler implementation. Zach Cook has done most of the integration of Lightrec in Beetle PSX, while pcercuei did Lightrec itself. Lightrec is pcercuei’s dynamic recompiler for MIPS that uses GNU Lightning as the backend. There should be working implementations for nearly all system architectures, from x86 (64bit/32bit) to MIPS and ARM (64bit/32bit). It bears mentioning that pcercuei also already has Lightrec hooked up to PCSX Reloaded, and used this as a testbed.
Platforms
The dynarec is available for the following platforms:
Linux
Windows
Android *
MacOS *
We are able to confirm that the performance gains for x86 and x86_64 are significant, as you can see down below (see Performance tests). We don’t know what the results are for ARM Linux, let us know how it performs!
* Performance right now is pretty bad for the Android and macOS platforms. We hope that after the public beta test, performance will improve a lot for these platforms. So while there is a framerate gain, it isn’t anywhere near what it should be.
How to use it – what the options do
First, update your Beetle PSX cores. We already explained before but we’ll repeat it here for the sake of it –
If you are on Android, Windows, Linux and/or macOS, all you have to do to get the latest core is to open RetroArch, go to Online Updater, and either select ‘Update Installed Cores’ (if you already installed the Beetle PSX core before), or install the Beetle PSX and/or Beetle PSX HW cores separately.
Once you’re on the latest core, you’ll notice that a lot more options show up now when you go to Quick Menu -> Options. We’ll go over these options and we’ll explain what they do.
NOTE: The dynarec is disabled by default – the default setting is still ‘Beetle Interpreter’. So if you’re wondering why things aren’t automatically faster, set it from Disabled to ‘Max Performance’ in Quick Menu -> Options.
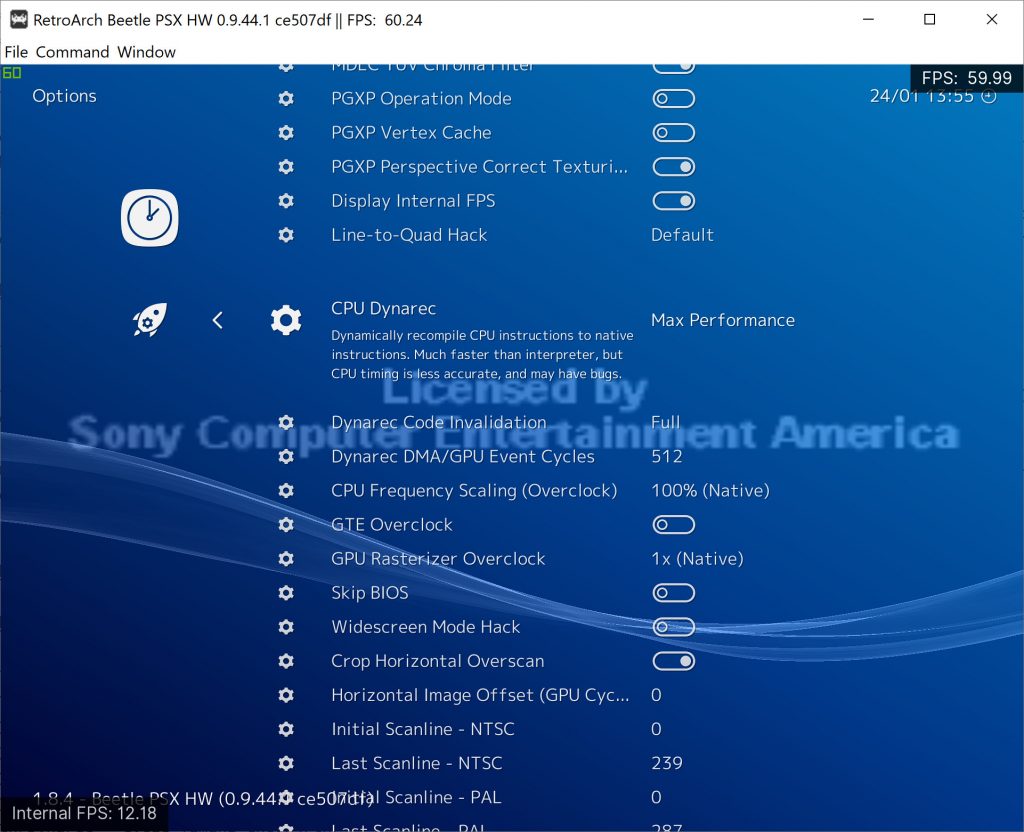
CPU Dynarec – [Max Performance|Cycle Timing Check|Lightrec Interpreter|Disabled (Beetle Interpreter)]
Dynamically recompile CPU instructions to native instructions. Much faster than interpreter, but CPU timing is less accurate, and may have bugs.
Disabled (Beetle Interpreter) – This is the default setting, dynarec is disabled. This uses the default Beetle interpreter that has been used in Beetle PSX all up to this point. It’s faster than Lightrec Interpreter (for now) but much slower than any of the dynarec modes. We don’t recommend you use this unless ‘Max Performance’ or ‘Cycle Timing Check’ won’t work well for you on the game you’re trying to play.
Max Performance – Dynarec enabled with all features enabled. Should be the fastest option, but some games might require the ‘Cycle Timing Check’ mode instead.
Cycle Timing Check – Dynarec enabled, but with cycle timing check which makes it a fair bit slower. Some games might need this setting in order to work properly, so if you find that Max Performance has bugs with a game, try this mode instead.
Lightrec Interpreter – This is the slowest mode right now. It’s basically in the same ballpark as Beetle Interpreter but the Beetle one is actually faster. It’s basically Lightrec running in CPU interpreter mode instead of dynarec mode. We don’t recommend you use this.
Dynarec Code Invalidation – [Full/DMA Only [Slightly faster]]
Some games require a Full invalidation, some require DMA Only.
Dynarec DMA/GPU Event Cycles – 128 (Default) – can go up to 512
How many cycles can pass in the CPU before a GPU or DMA update is checked. A higher number will be faster, but also more likely to cause bugs or crashes. This option has much less impact on performance with Beetle Interpreter than any of the dynarec modes.
Performance tests
Test hardware: Desktop PC – Core i7 7700k, Windows 10
Game
Beetle Interpreter
Dynarec – Max Performance
Dynarec – Max Performance (w/ DMA/GPU Event Cycles High)
Dynarec – Cycle Timing Check
Dynarec – Lightrec Interpreter
Tekken 3
151fps
223fps
252fps
209fps
117fps
Ridge Racer Type 4
132fps
323fps
325fps
289fps
132fps
Final Doom
216fps
401fps
456fps
359fps
142fps
Final Fantasy VIII
185fps
384fps
426fps
269fps
149fps
Rockman X3
211fps
414fps
450fps
319fps
152fps
Test hardware: Laptop PC – Core i5 3210M, Ubuntu Linux 19.04
Game
Beetle Interpreter
Dynarec – Max Performance
Dynarec – Max Performance (w/ DMA/GPU Event Cycles High)
Dynarec – Cycle Timing Check
Dynarec – Lightrec Interpreter
Tekken 3
83fps
117fps
126fps
110fps
78fps
Ridge Racer Type 4
105fps
159fps
173fps
143fps
87fps
Final Doom
128fps
204fps
235fps
181fps
99fps
Final Fantasy VIII
128fps
232fps
277fps
152fps
97fps
Rockman X3
141fps
235fps
266fps
182fps
107fps
Currently known issues
* PGXP right now is disabled if you use any of the Dynarec modes. So don’t bother enabling PGXP modes for now when you use the Dynarec modes, you’ll just lose performance while gaining absolutely nothing. We hope that we are able to come up with a solution for this later.
* Make sure ‘Renderer’ is set to ‘Software’ if you want to use runahead. We recommend for runahead purposes you stick to 1x Internal GPU Resolution as even with the dynarec enabled, it can still be stressful on the CPU to go any higher than 1x with software rendering.
* If you are using the Android version and want to report bugs right now, please DO NOT use the Vulkan renderer right now. It currently has a couple of bugs on Android that the software renderer doesn’t have. So we advice you to use the software renderer for now on Android. On top of that, the software renderer right now is faster than Vulkan on Android, so you’re advised for now to use this during the public beta period.
Currently known compatibility issues
These are the current compatibility issues I have been able to notice on Windows.
Parasite Eve 2 (USA) (Disc 1)
Won’t continue from start with dynarec. It will freeze at the ‘Published by Square Electronic Arts’ screen.
There is a workaround for this – set CPU Overclock to 300%. The game will run too fast but it will at least be playable.
Brave Fencer Musashi (USA)
Hangs at ‘New Game’ – first world screen
There is a workaround for this – set CPU Overclock to 300%. The game will run too fast but it will at least be playable.
Gex – Enter The Gecko (USA)
Crashes after PSX copyright screen
Time Commando (USA)
Corrupted background graphics. Background graphics in this game are streaming FMV with polygon models on top.
Street Fighter Ex Plus Alpha (USA)
If you lose a fight and then select Continue, it will hang
Vanishing Point (USA)
It crashes once inside a race – with both full max or dma only
Battle Arena Toshinden 1 (USA)
It runs too fast.
WORKAROUND: By setting CPU to 90%, you can workaround this issue.
Alone In The Dark – One Eyed Jack’s Revenge (USA)
Crashes after the PSX copyright screen
Viewpoint (USA)
Crashes after the PSX copyright screen
Another big announcement at the end of the weekend
We have even bigger things for you in store by the end of this week. So stay tuned, because we have lots more to talk about very soon! It’s time to get the 5th gen out of the way and have it preserved for posterity!
NOTE: When talking about 3DS in this article, we actually mean the New 3DS. Don’t expect old 3DS to be able to emulate many games at fullspeed.
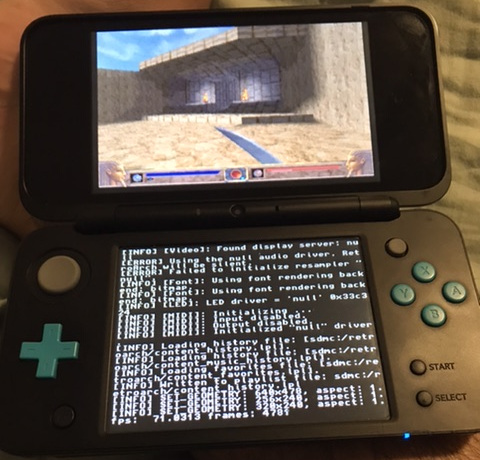
The Nintendo 3DS is a great little portable RetroArch machine. Especially for classic systems: it has all the buttons you need, and the screen is sharp and pixel-perfect. We’re happy to share a few improvements to RetroArch 3DS that make it even better.
Full-speed cores from the homebrew menu
There are a few different ways to run homebrew apps on the 3DS. Until recently, you could only run cores with a dynarec turned on, such as gpSP and PCSX ReARMed, if you installed the .cia version of RetroArch to the home menu.
On setups using Luma3DS 8.0 or higher, these dynarecs now run when launched as .3dsx files from the homebrew menu, for those who prefer to keep their home menu clean — there is no difference in speed between .cia and .3dsx.
Faster renderer for PCSX ReARMed
PCSX ReARMed has graphics and sound plugins, and some plugins are better suited for certain systems than others. Until now, the 3DS has used the P.E.Op.S. graphics plugin, which is reasonably accurate, but slow. We have just changed the 3DS builds to use PCSX4ALL’s Unai renderer, which is less accurate, but much faster. In many games, 10-20fps faster!
This means that on the New Nintendo 3DS, many PSX games will run at a full 60fps — outside of FMVs, loading, and special effects. But this next feature improves even those:
CHD support in PCSX ReARMed
CHD is a compression format that works great for disc images, losslessly shrinking CD-sized games into something more manageable. Support for CHDs was added to PCSX ReARMed by [fulfilling a bounty] earlier this year, but that support didn’t carry over into the 3DS version.
Now, CHD support has been enabled on PCSX ReARMed on 3DS. This means you can share the same images between RetroArch versions, the images will take up less speed on your SD card, and they will load (and run!) significantly faster than .bin/.cue files. This greatly reduces framerate dips, especially during FMVs and loading zones.
Full-speed PlayStation
When you combine the faster renderer with CHD support, a lot of great PlayStation games run at full-speed on the New Nintendo 3DS! Try it out today: the updated core is currently available in the latest nightly versions, and will ship with the next RetroArch release.
Cookie Consent
We use cookies to improve your experience on our site. By using our site, you consent to cookies.
Websites store cookies to enhance functionality and personalise your experience. You can manage your preferences, but blocking some cookies may impact site performance and services.
Essential cookies enable basic functions and are necessary for the proper function of the website.
Name
Description
Duration
Cookie Preferences
This cookie is used to store the user's cookie consent preferences.
30 days
Statistics cookies collect information anonymously. This information helps us understand how visitors use our website.
Google Analytics is a powerful tool that tracks and analyzes website traffic for informed marketing decisions.
Contains information related to marketing campaigns of the user. These are shared with Google AdWords / Google Ads when the Google Ads and Google Analytics accounts are linked together.
90 days
__utma
ID used to identify users and sessions
2 years after last activity
__utmt
Used to monitor number of Google Analytics server requests
10 minutes
__utmb
Used to distinguish new sessions and visits. This cookie is set when the GA.js javascript library is loaded and there is no existing __utmb cookie. The cookie is updated every time data is sent to the Google Analytics server.
30 minutes after last activity
__utmc
Used only with old Urchin versions of Google Analytics and not with GA.js. Was used to distinguish between new sessions and visits at the end of a session.
End of session (browser)
__utmz
Contains information about the traffic source or campaign that directed user to the website. The cookie is set when the GA.js javascript is loaded and updated when data is sent to the Google Anaytics server
6 months after last activity
__utmv
Contains custom information set by the web developer via the _setCustomVar method in Google Analytics. This cookie is updated every time new data is sent to the Google Analytics server.
2 years after last activity
__utmx
Used to determine whether a user is included in an A / B or Multivariate test.
18 months
_ga
ID used to identify users
2 years
_gali
Used by Google Analytics to determine which links on a page are being clicked
30 seconds
_ga_
ID used to identify users
2 years
_gid
ID used to identify users for 24 hours after last activity
24 hours
_gat
Used to monitor number of Google Analytics server requests when using Google Tag Manager
1 minute
Marketing cookies are used to follow visitors to websites. The intention is to show ads that are relevant and engaging to the individual user.
A video-sharing platform for users to upload, view, and share videos across various genres and topics.
Registers a unique ID on mobile devices to enable tracking based on geographical GPS location.
1 day
VISITOR_INFO1_LIVE
Tries to estimate the users' bandwidth on pages with integrated YouTube videos. Also used for marketing
179 days
PREF
This cookie stores your preferences and other information, in particular preferred language, how many search results you wish to be shown on your page, and whether or not you wish to have Google’s SafeSearch filter turned on.
10 years from set/ update
YSC
Registers a unique ID to keep statistics of what videos from YouTube the user has seen.
Session
DEVICE_INFO
Used to detect if the visitor has accepted the marketing category in the cookie banner. This cookie is necessary for GDPR-compliance of the website.
179 days
LOGIN_INFO
This cookie is used to play YouTube videos embedded on the website.
2 years
VISITOR_PRIVACY_METADATA
Youtube visitor privacy metadata cookie
180 days
You can find more information in our Cookie Policy and .